Under $40 DIY Motorized Wifi Camera Slider with esp8266. So while in the search for cheap camera slider, to my surprise I was not able to find any that will support the weight of a dslr that was under $200. thus leaving me no options but to build one myself. This guide will show you how to use a nodemcu to control stepper motors for your camera slider.
Equipment list
Timing Belt (6mm) and Gear(20t) amazon | ebay
5/8 rails lowes
Frame thingiverse
Assembly Process
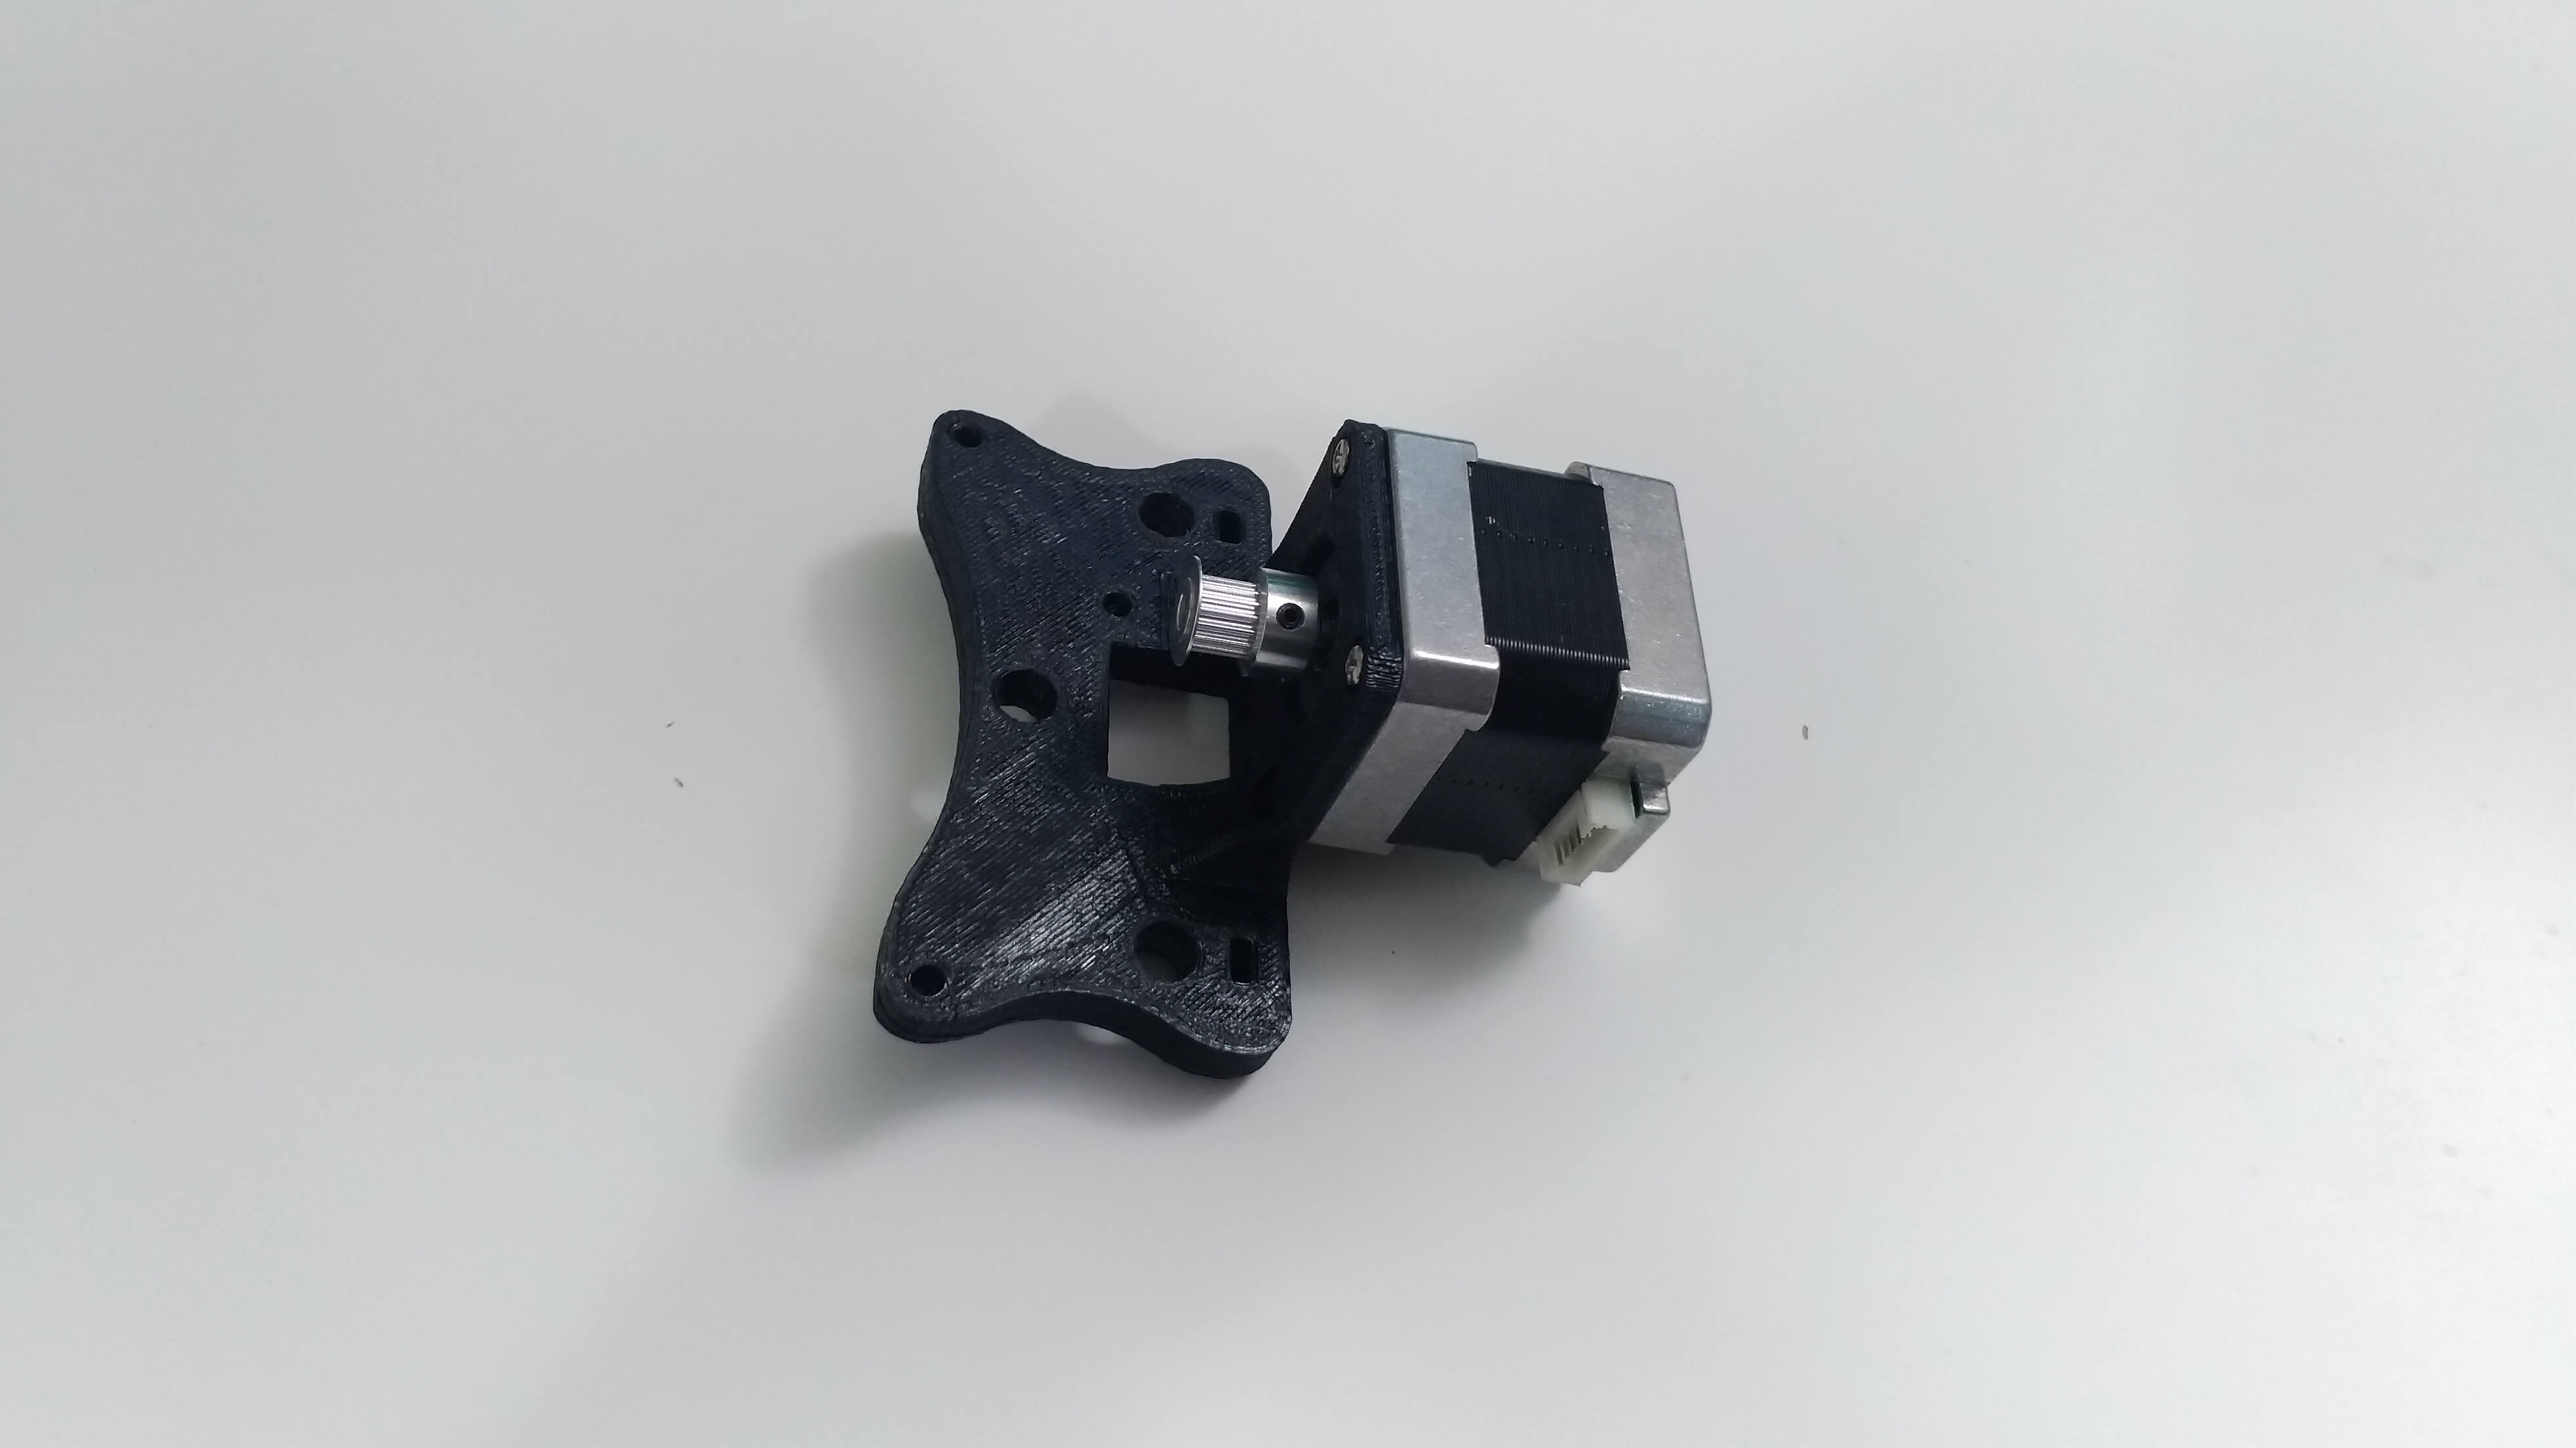
The assembly process is pretty straight forward, one requirement is to have the tear drop that hold the belt on the dolly be facing downwards if the stepper motor is on the left side.
I started by installing the stepper motor on the frame first.
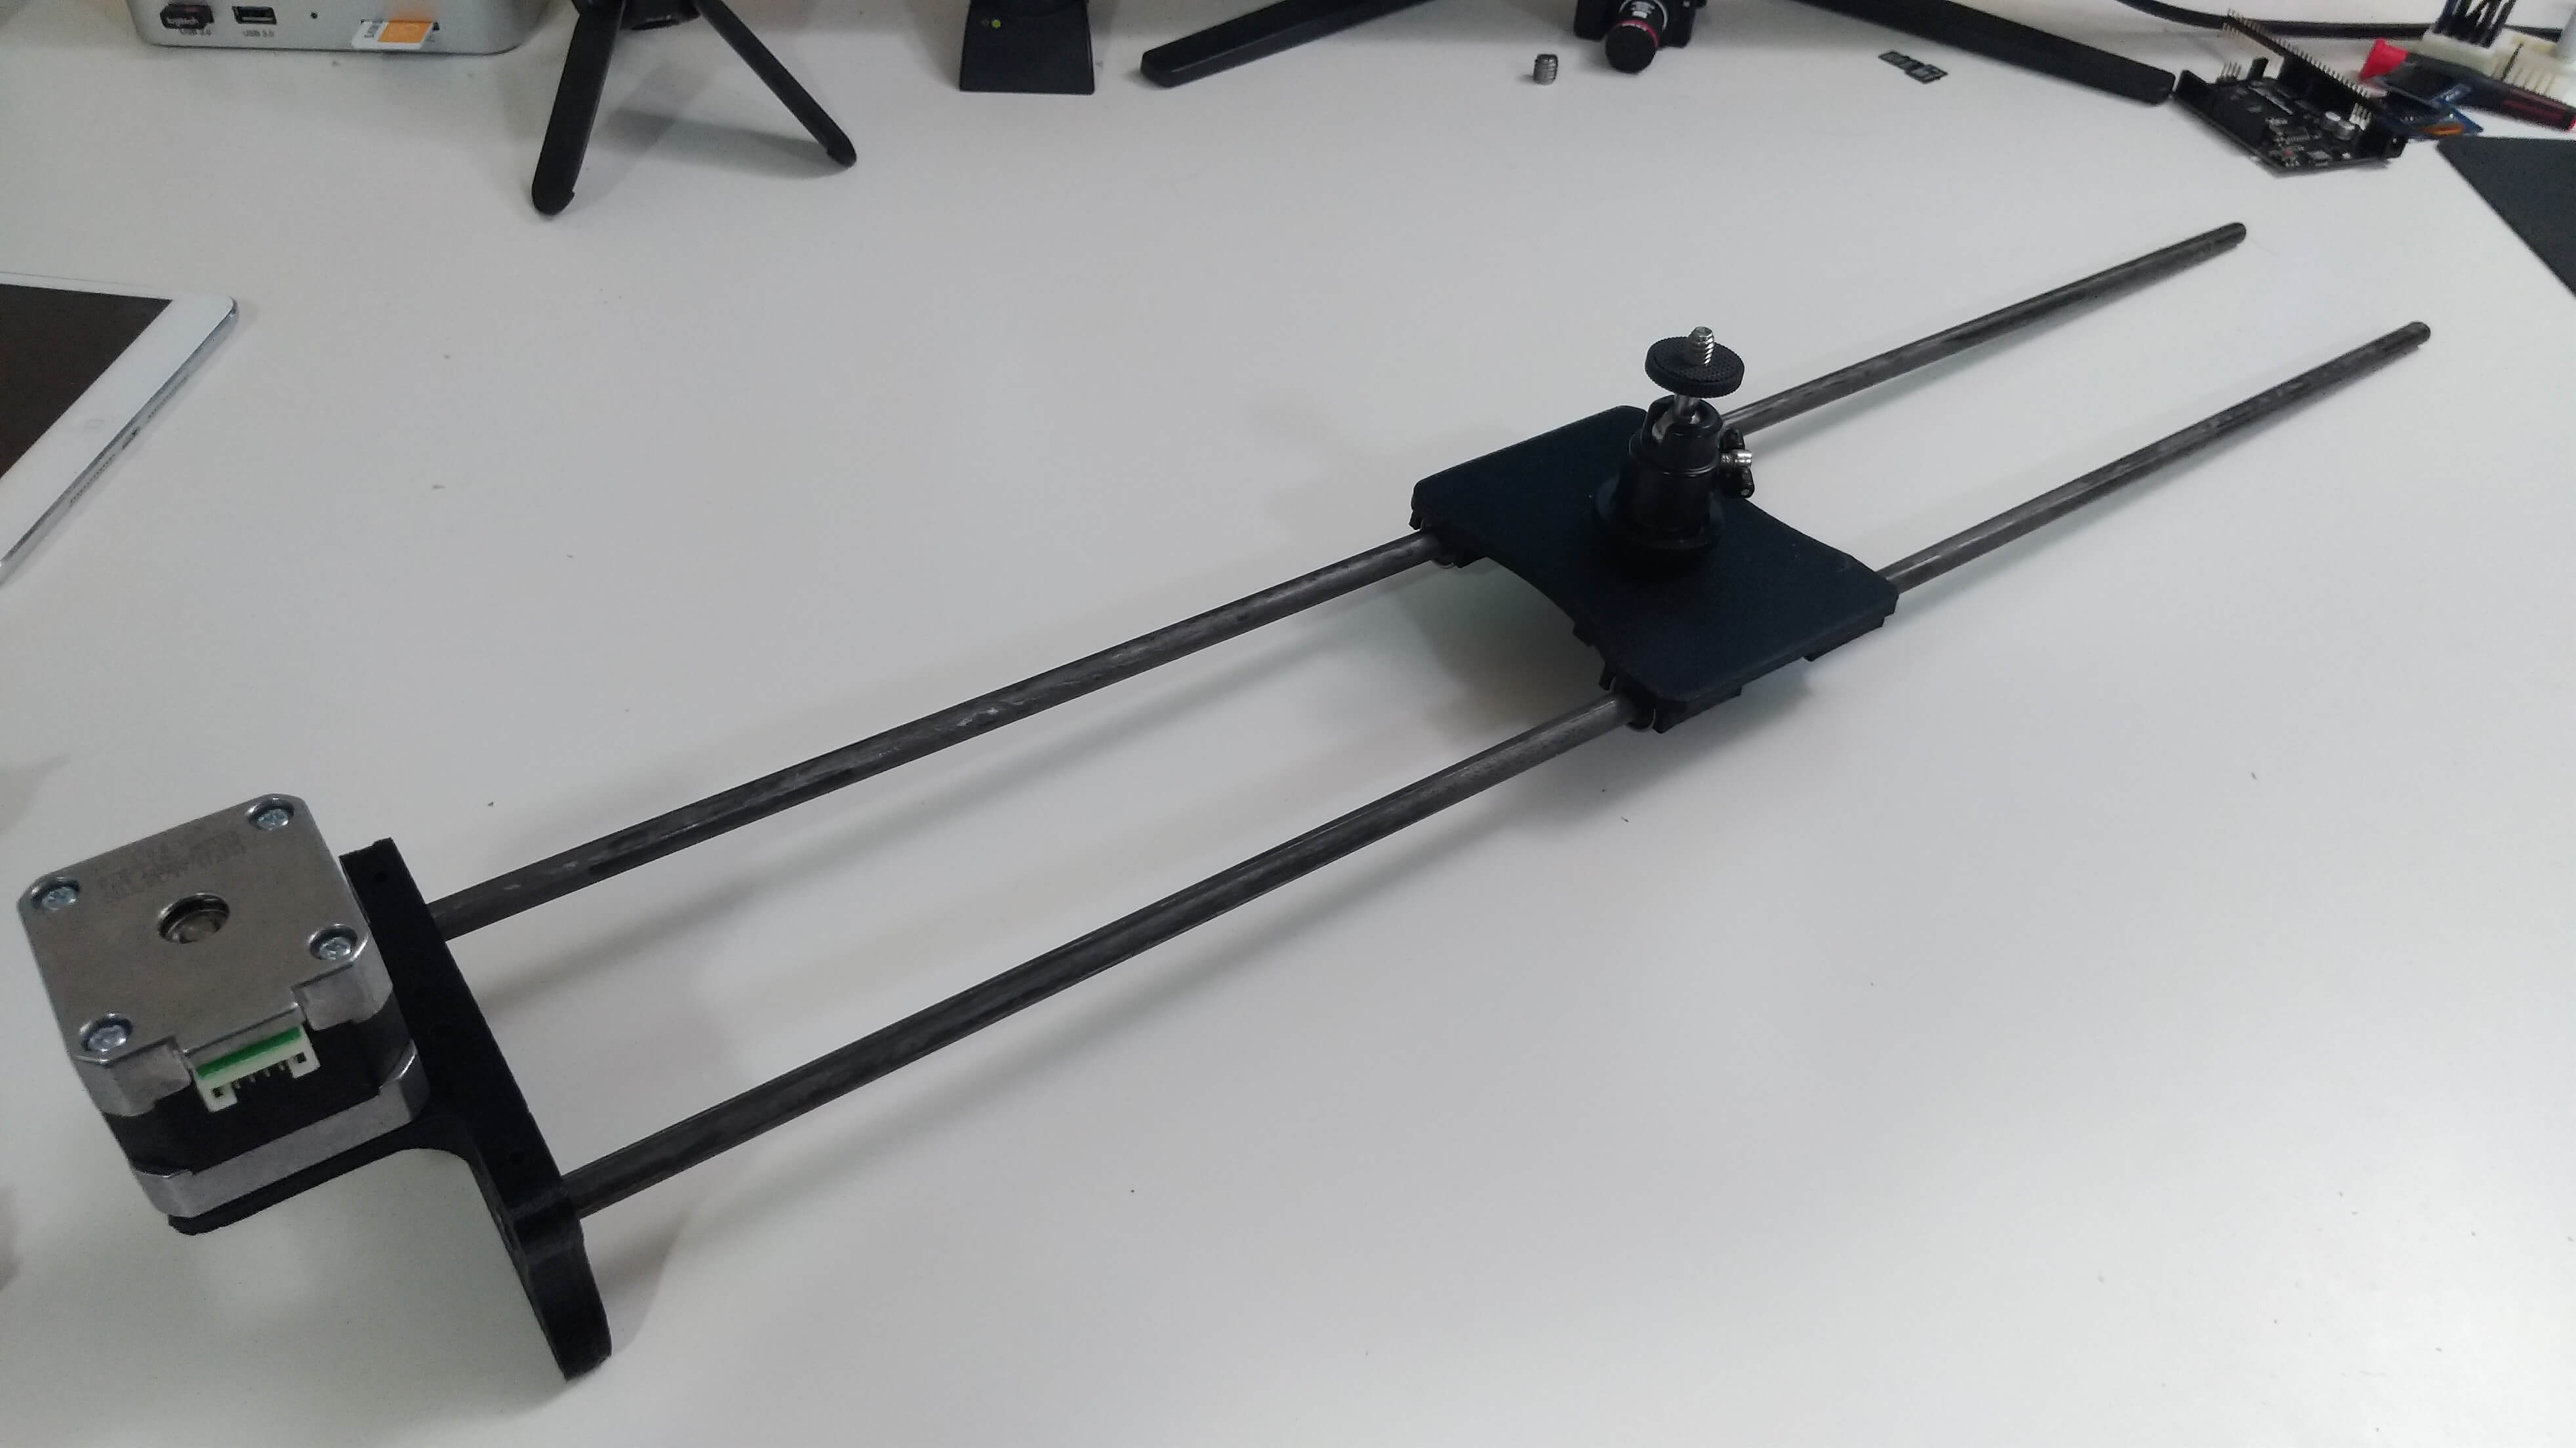
Then i would slide the rails into the frame with the stepper motor installed.
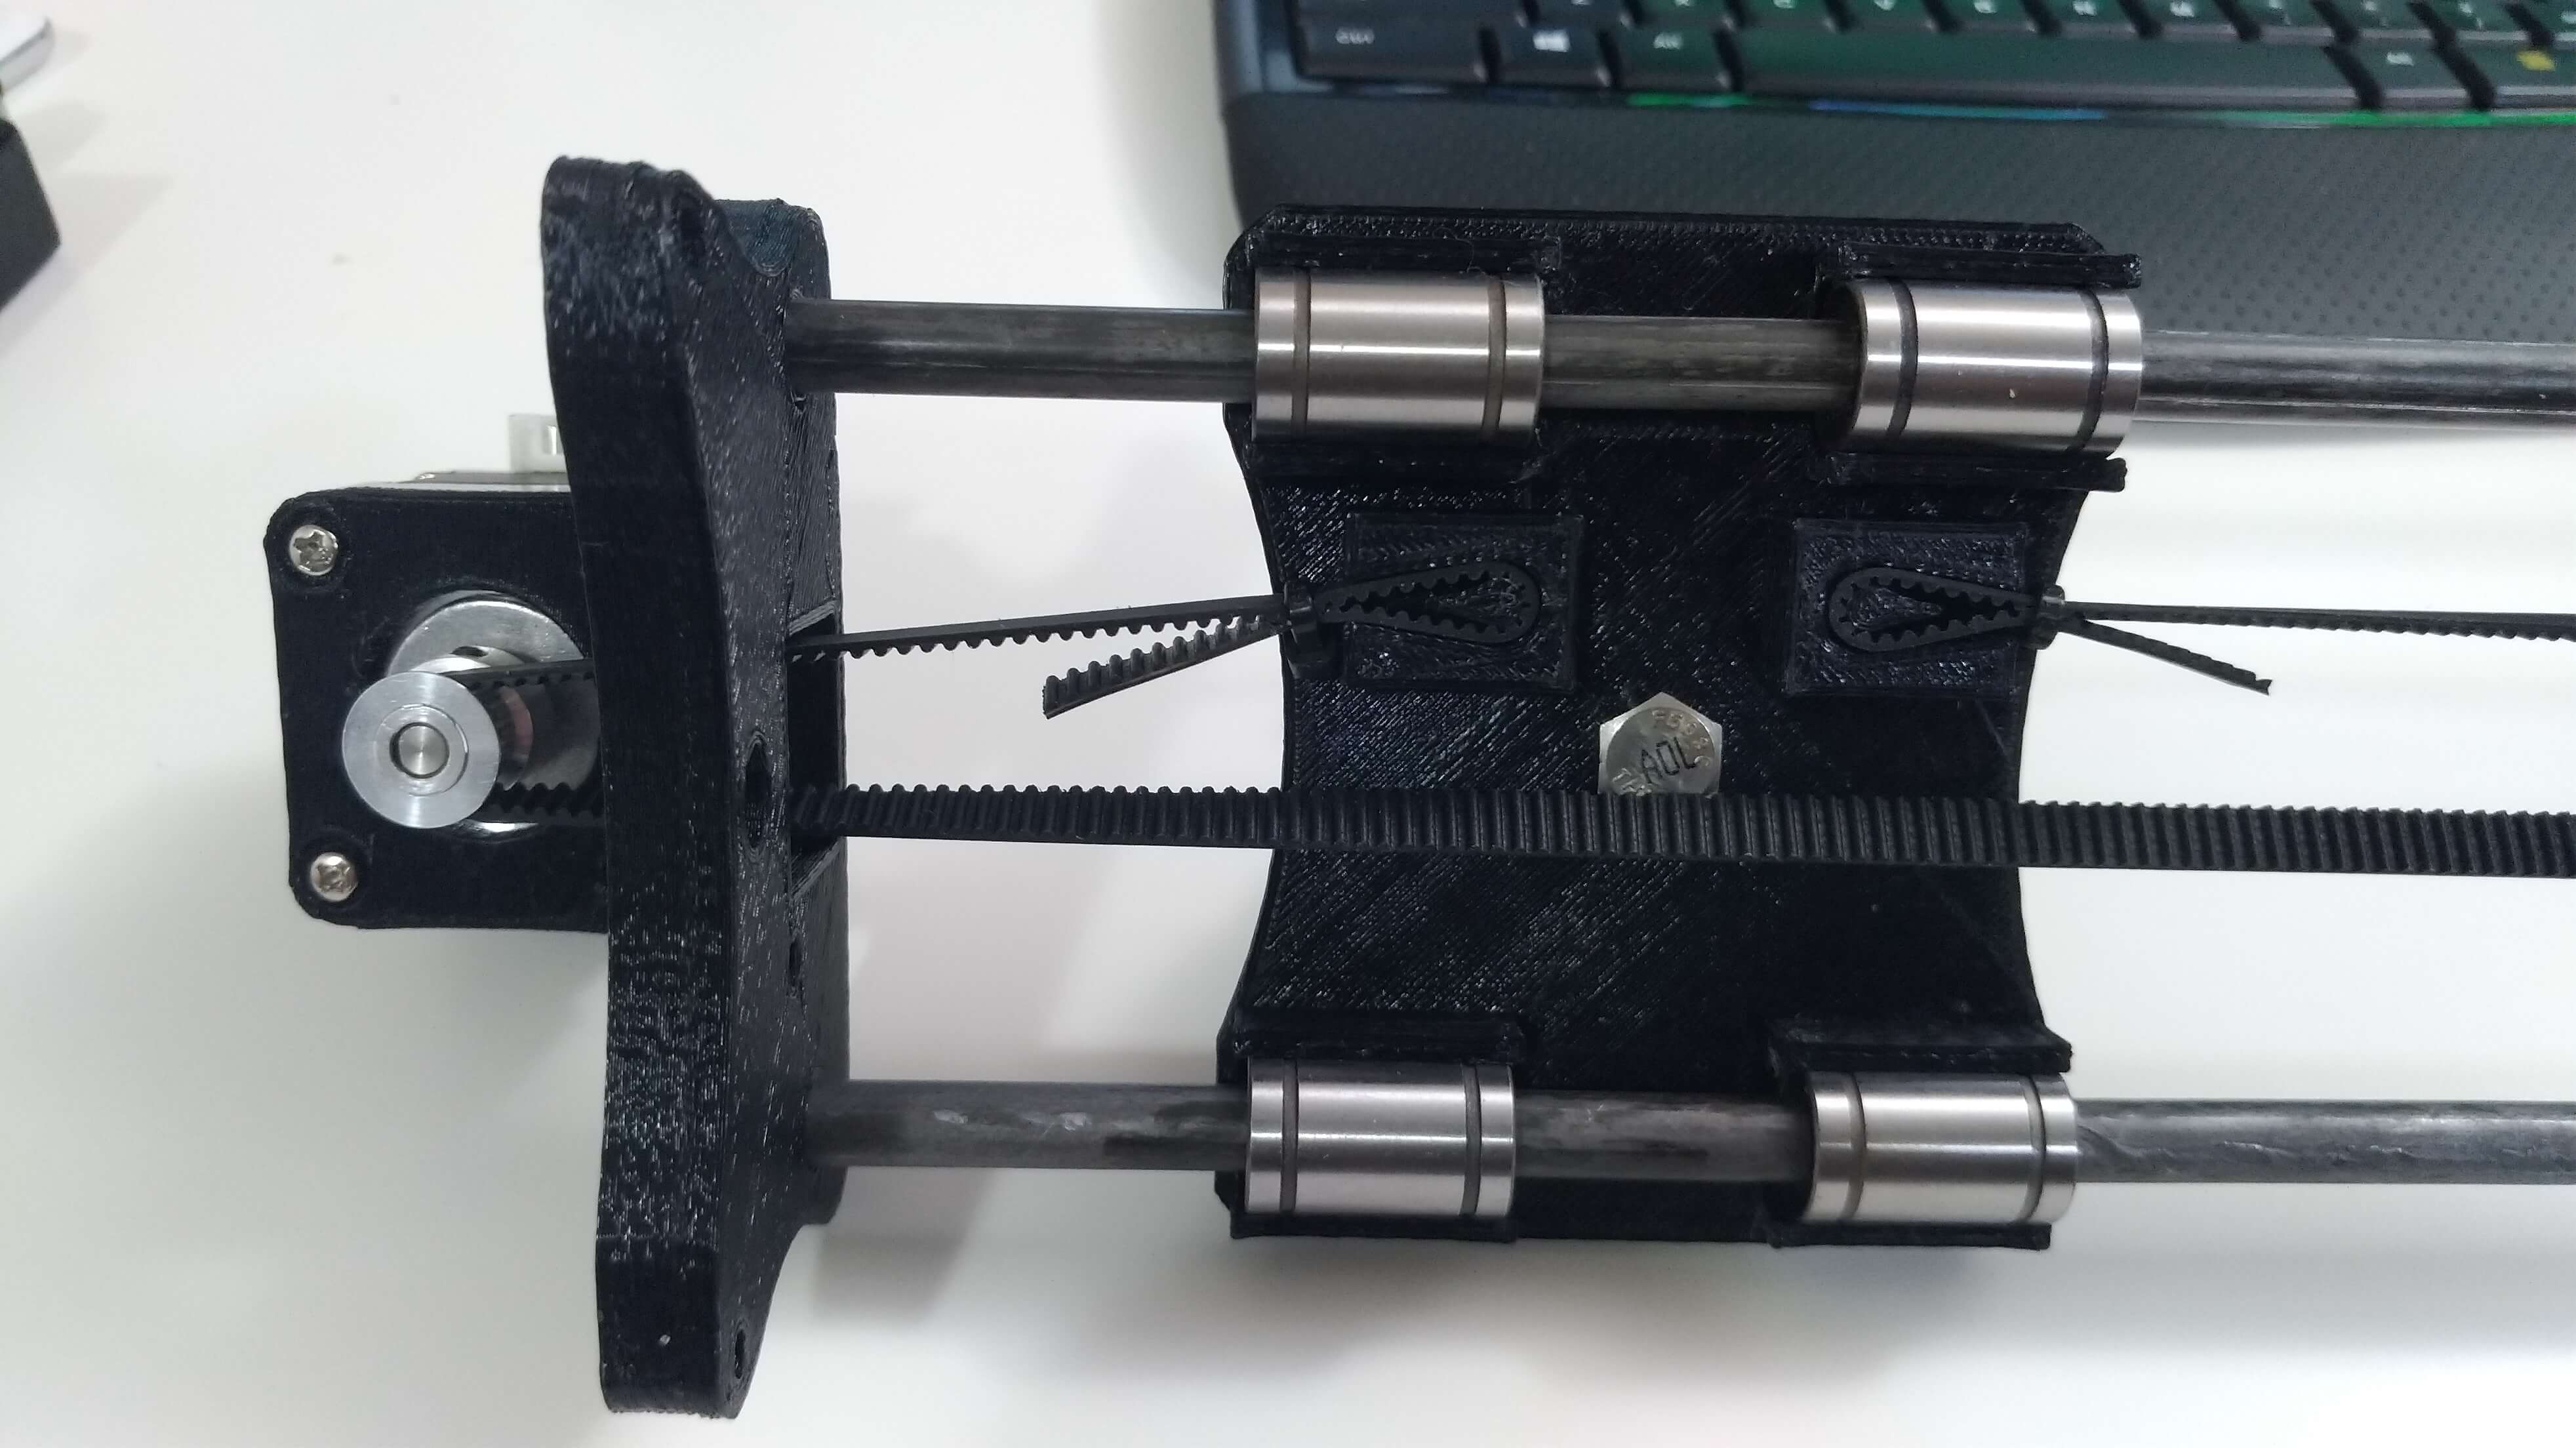
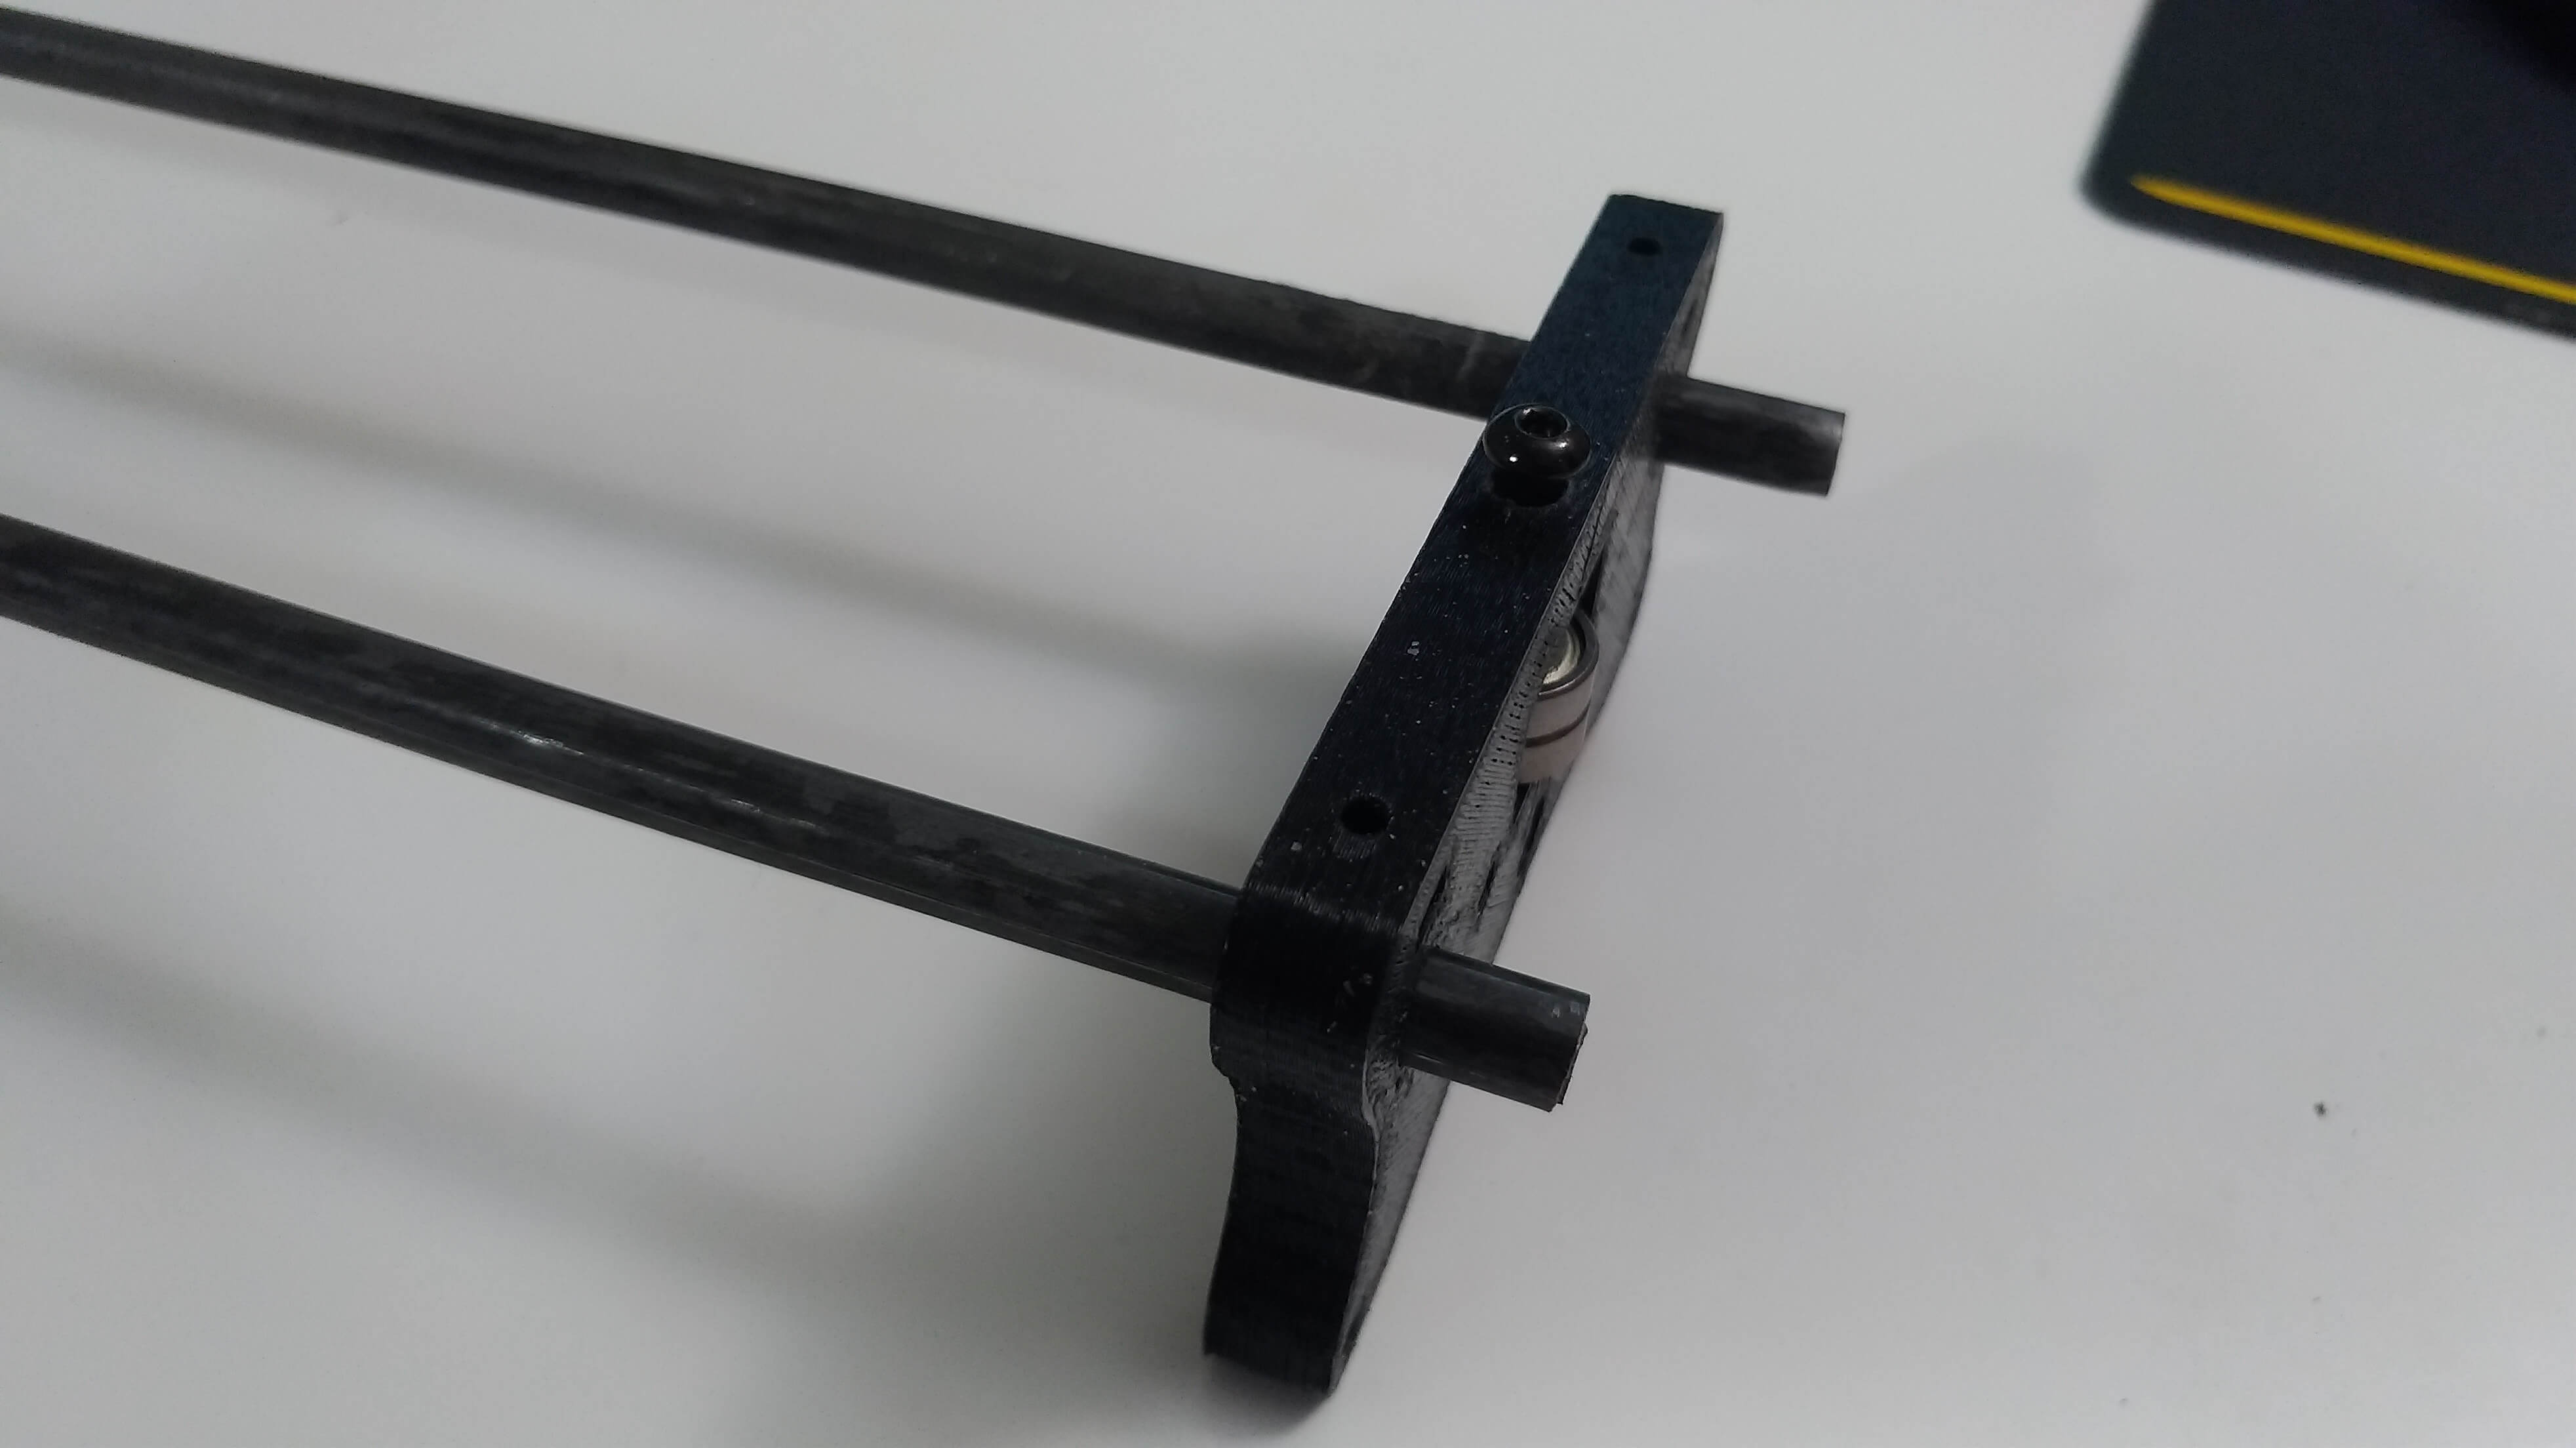
Now we inert the dolly with the tear drops facing downward
once that is done, we can install the other side of the frame, be sure to leave some slack to tension up the belt later on.
now you can install the belt and tighten everything up.
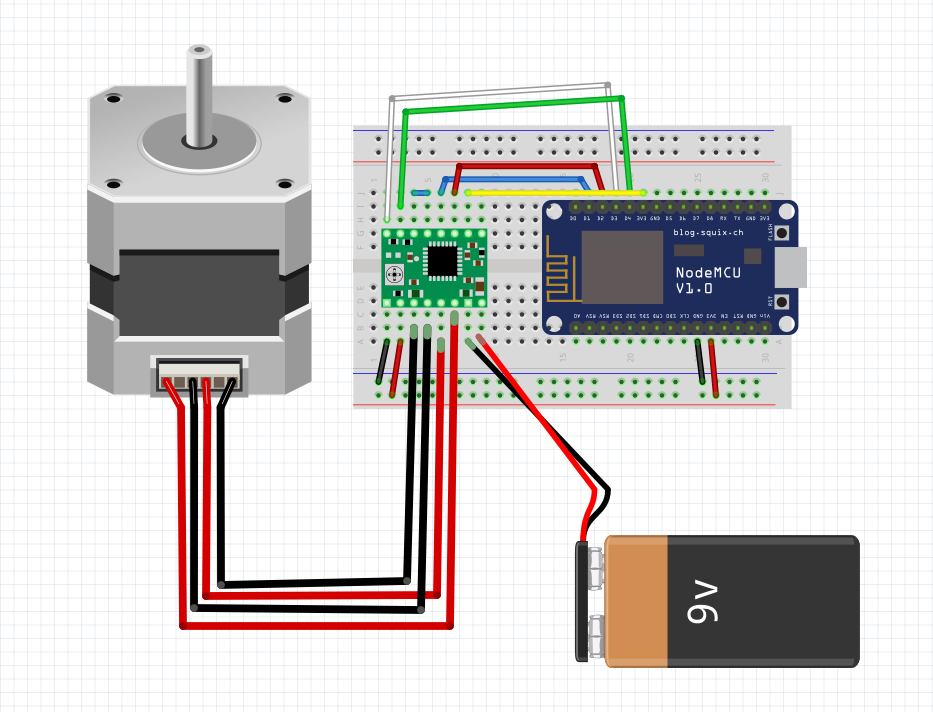
Wiring Diagram
This is the wiring diagram to hook up the nodemcu to the a4988 and stepper motor, I am currently using a 9 volt battery to power the stepper motor and the a4988 is powered by the 3v3 rail from nodemcu.
Code
This is the point where it depends on the ESP board you have got. I can not walk you through the process of what driver version you need to install for each board being that there are so many different versions, so your kind of on your own on this. But once the drivers are installed we can continue on to uploading the code to our boards.
The code is posted up on github
View Comments (11)
Hi, I got this built but I can't seem to get it to work just right. The stepper seems to be not getting enough power to run. It either just vibrates (on slower settings) or grinds and barely moves (normal speed). Any idea what I tweak to get it running smoothly like you show in your sample shots? Thanks in advance.
Same here, I think the stepper is not getting enough juice. I'll try an 12V or higher adapter next. The built in site keeps disconnecting as well, but when I forget the AP and reconnect I'm able to get it back.
Any chance the 12v worked for you?
It works, but the above diagram is missing a capacitor. I happened to have a 100uf capacitor and placed it between the power input for the stepper and the driver. I went thru 3 drivers before adding the capacitor. Thanks God I got them for less than a dollar on ebay, while amazon charges $7. My current goal now is to make it stronger. Lots of skipping steps while setting it on an angle. I swapped the belt to XL type and also replaced the pulleys. Unfortunately, it's wobbling and misaligned. Getting the replacement pulley tomorrow. I'll take some pictures.
Possibly a bit over my head. Might I be able to figure it out with your pictures? If not, I may just be giving up on this thing.
What bearing did you use? for the gt2.
thanks
What size capacitor is that? You didn't show that in your wiring diagram as well as the purple wire pin EN on the driver to pin D0 on the ESP8266.
i made it but your diagram has 2 faults, the yellow wire should go to d5, and u have to wire another from d0 to enable on av4988,
Very true, Your content is always informative and I love to read them.
Thanks
DedicatedHosting4u.com
555
Hi, I think you are using 5/16" not 5/8" rails. because LM8UU has only 8mm inner diameter.
5/16" is little bit bigger than 1/4".
5/8" is little bit bigger than 1/2".
CMIIW.
but, if you're using 5/16" rails isn't that bouching because of camera weight?