Raspberry Pi Owncloud Installation using Diet Pi image and WD Red 1TB Storage drives. Your cloud, your data, your way!
Equipment List
Raspberry Pi 3 ► Amazon | Ebay
Western Digital Red 1TB ► Amazon
Software List
Diet Pi ► http://www.dietpi.com/
Etcher ► https://etcher.io/
Raspberry Pi OwnCloud
Step 1: Install Diet Pi
Download the Image from https://www.dietpi.com/ -> Downloads
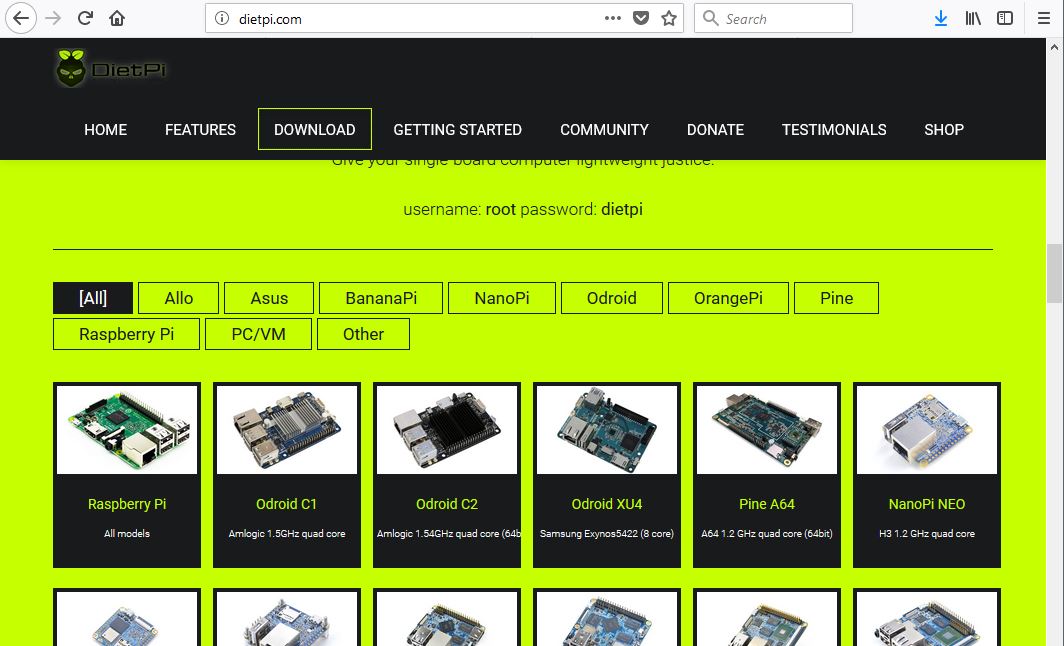
once your image has been downloaded, use etcher to copy the image to your sdcard
Step 2: Initial Configurations
On first boot you will need to login once with username root password dietpi then from here you will need to setup your internet. Once everything is connected to the internet and possibly rebooted once again, you will be able to select the software needed for this project.
Navigate over to Software Optimized and scroll down till you see “OwnCloud…” and select it using space bar.
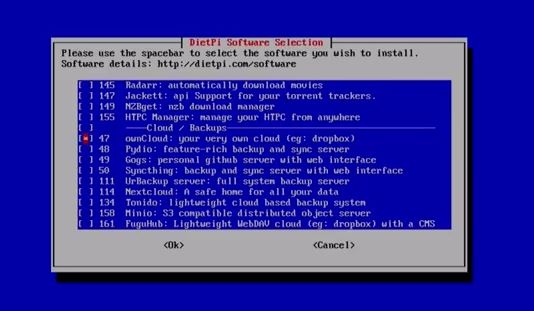
you can now exit this screen back to the main screen to continue with the installation.
At this point it will take you about 30 minutes of pointless waiting so go grab a coffee.
Step 3: Formatting hard disk
Now it’s time to format and mount the disk at boot up time. This process may vary depending on how many hard drives you have connected. I currently have 1 hard drive connected so my device will be sda.
to start the process we need to type
$ fdisk /dev/sdaat this point we need to delete d and create a new partition with n then [enter] [enter] to leave default values. Once completed type w to write your changes
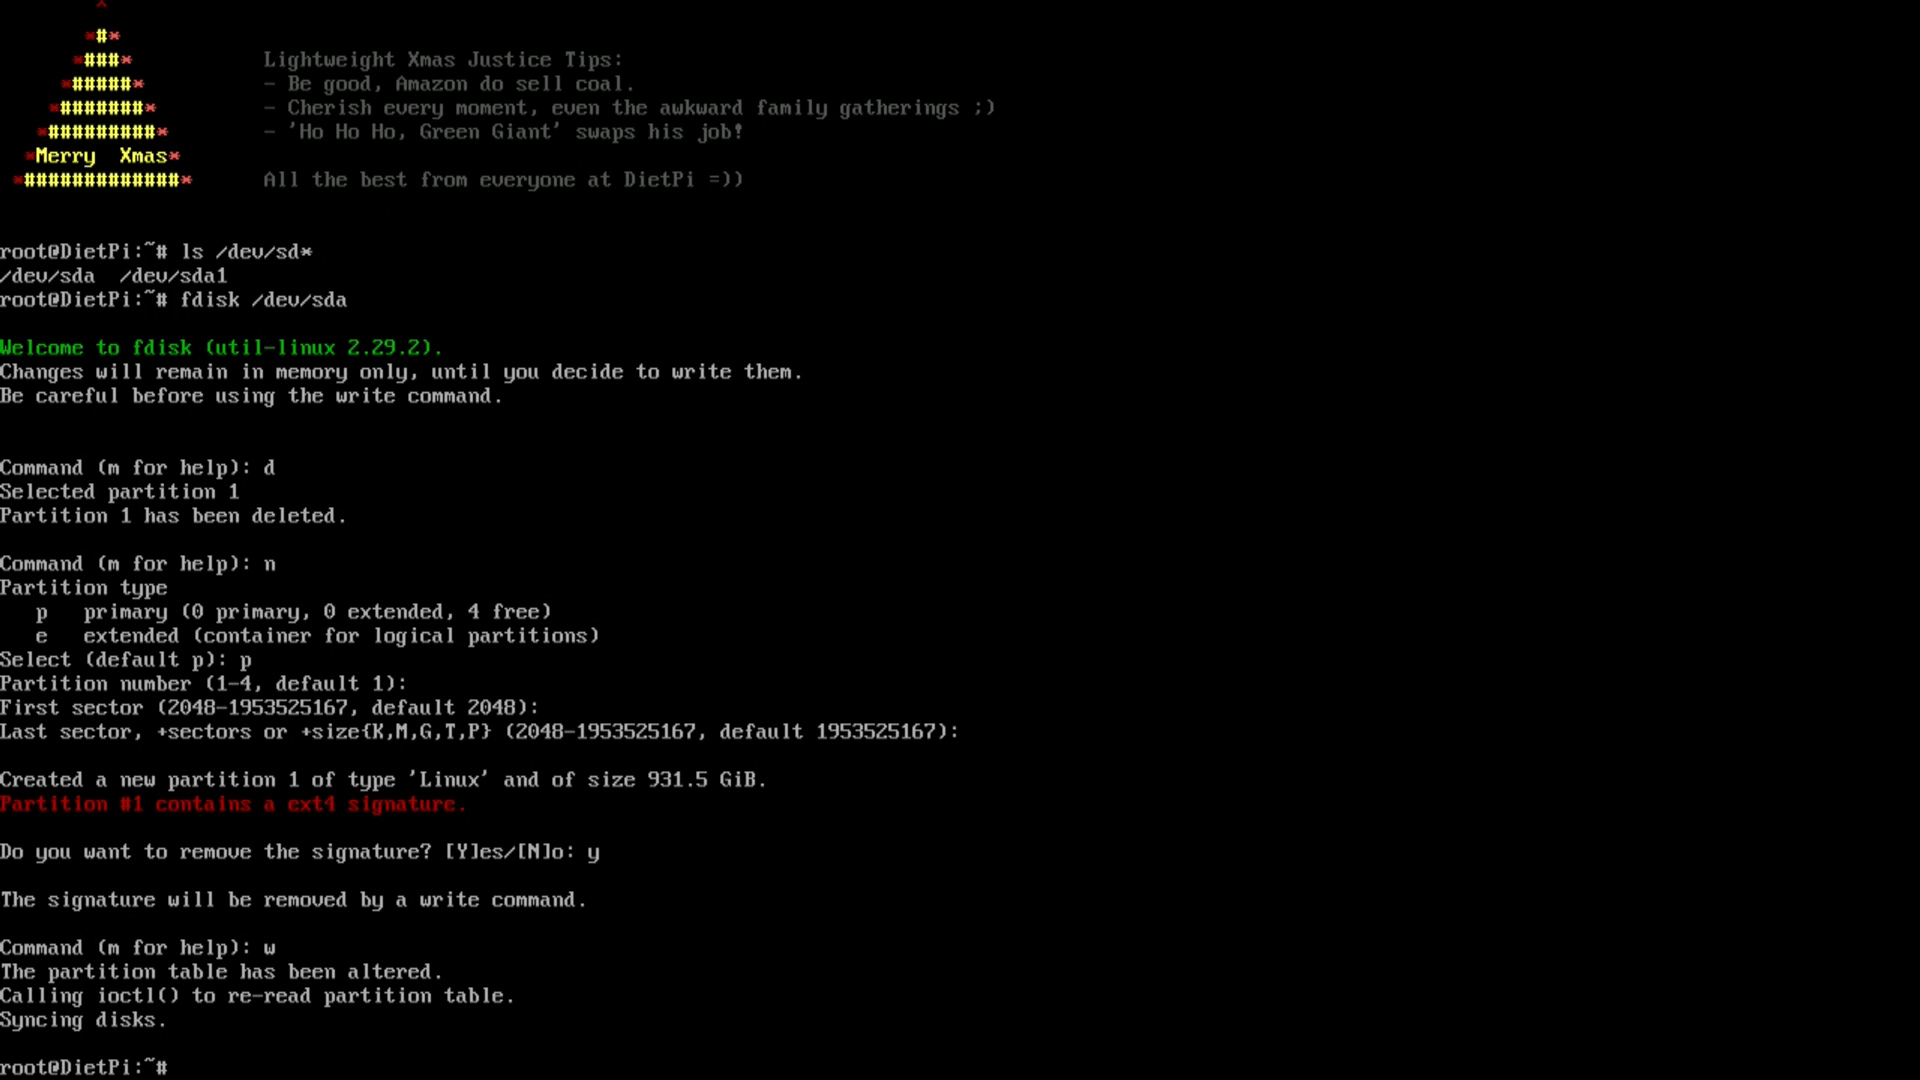
$ mkfs.ext4 /dev/sda1to make the partition mount on boot we need to modify the fstab file
$ nano /etc/fstab/goto the last line and add
$ /dev/sda1 /datastore ext4 defaults 0 0save and close
now we have to create the datastore folder and fix the permissions
$ mkdir /datastore
$ chown www-data:www-data /datastore
$ chmod 0770 /datastore
finally! we can now reboot and double check if the hard drive gets mounted correctly!
Step 4: Setting up mysql
we now need to create a new database and user for owncloud in our mysql database
$ mysql -u root -pdietpito create a database
$ create database owncloud;to create user for database
$ GRANT ALL PRIVILEGES ON owncloud.* TO 'oc_admin'@'localhost' IDENTIFIED BY 'password';change password to the password you want to use
$ exitStep 5: Finally! the web setup
Point your browser to your device IP address (ex: http://192.168.1.100) and add /owncloud at the end
this should start the setup process for admin user account for own cloud.
if this setup menu does not show you will need to delete a file in your config folder in owncloud by running this command
$rm /var/www/owncloud/config/config.php
now we just need to fill in the information, the username can be anything you want and this will be the administrative account for owncloud which allows you to add and remove users, next to set the data folder which we will need to change to “/datastore” so it will point to the hard drive we have mounted. as for the rest. simply put oc_admin for mysql username and the password you have given and long with database name of “owncloud”. now you can hit next and a new account will be created for you (takes 5 mins or so).
i would recommend watching the video, and or checking out the owncloud owners manual for list of features and functions.
-don
View Comments (17)
Nice video, I'd like to try this. How was the drive connected to the Raspberry Pi? Do you have to use this NAS type drive or will any external hard drive work?
Thanks.
You write very easy to understand clear, detailed and precise tutorial. 3 thumbs up for you.
I would appreciate very much if you will write a tutorial for noobs on how to set up NextClould on Raspberry Pi with a 1 TB hard disk. Thank you very much.
Hey, Nice video/writeup. If I load dietpi onto an SD and turn on my raspberrypi it gives me a "end kernel panic not syncing vfs..." error.
Help appreciated.
I've installed this and had syntax errors when doing the MySQL portions. I tried reinstalling it via software optimization and got into it, but ran into a problem when putting the name and password for the database in.
This command is not right: "nano /etc/fstab/"
The right command is without the slash at the end: "nano /etc/fstab"
how to setup ownCloud: Configurer la sécurité Strict Transport For more safety
Only took me 6 mins to install onecloud, what kind of computer do you have?
I followed same process for ubuntu for nextcloud but....
i mounded an external HDD to /databackup
HDD is exFat so changed /etc/fstabs accordingly.
still same problem....any suggestion?
Error
Your data directory is readable by other users
Please change the permissions to 0770 so that the directory cannot be listed by other users.
nice write up, but you missed giving us the most fundamental piece - how did you actually CONNECT THE DRIVES to the raspberry pi?
never mind - in the youtube video description you provided the link to the SATA to USB adapter.
I was hoping this was some direct sata connection to the PI and not through USB...oh well, maybe Pi 4 will have that.
There is a more elegant solution, Google for Suptronics X820 or X822. I just bought a X735 power management board and X822 which allows me to connect 2 sata hdd elegantly, I am building a NAS with OpenMediaVauit. You might want to consider X820 if you only have a hdd to connect to because there is a casing for that too.
Hi Don, great video and docu...but in the end i had this problem :
Error while trying to create admin user: Failed to connect to the database: An exception occured in driver:
SQLSTATE[HY000] [1045] Access denied for user 'oc_admin'@'localhost' (using password: YES)
can you help me
Hey guys,
has my previous comment been removed? Thanks for sharing a DietPi ownCloud install guide, but as I wrote here once already, the guide above is outdated, due to an upgraded ownCloud install method in DietPi.
1. Preparing external drives can and should be done via "dietpi-drive_manager". No permissions or anything else is needed to be done manually.
2. "nano /DietPi/dietpi.txt" and edit the "SOFTWARE_OWNCLOUD_DATADIR" setting to point to the desired ownCloud data directory. This (incl. step 1) is just optional. The data dir will be placed to "/mnt/dietpi_userdata/owncloud_data" by default and the whole "/mnt/dietpi_userdata" dir can easily be moved to an external drive via "dietpi-drive_manager" as well.
3. Select ownCloud via "dietpi-software" and you are done.
No database+user creation needed, it can even break the install, as above. No web UI setup needed. Everything is included safely in the ownCloud install script.
Best regards