The unofficial raspberry pi kali linux install. We are going to be using a unoffical image from re4son which was created specifically for the raspberry pi! This version also includes the nexmon patch for wifi monitoring mode!!
Equipment List
Raspberry Pi 3B+ ► Amazon | Ebay
7inch touch screen ► https://goo.gl/B1Rc2X
7inch touch ► https://goo.gl/Z54f9t
5inch touch screen ► http://amzn.to/2pafLH4
Software List
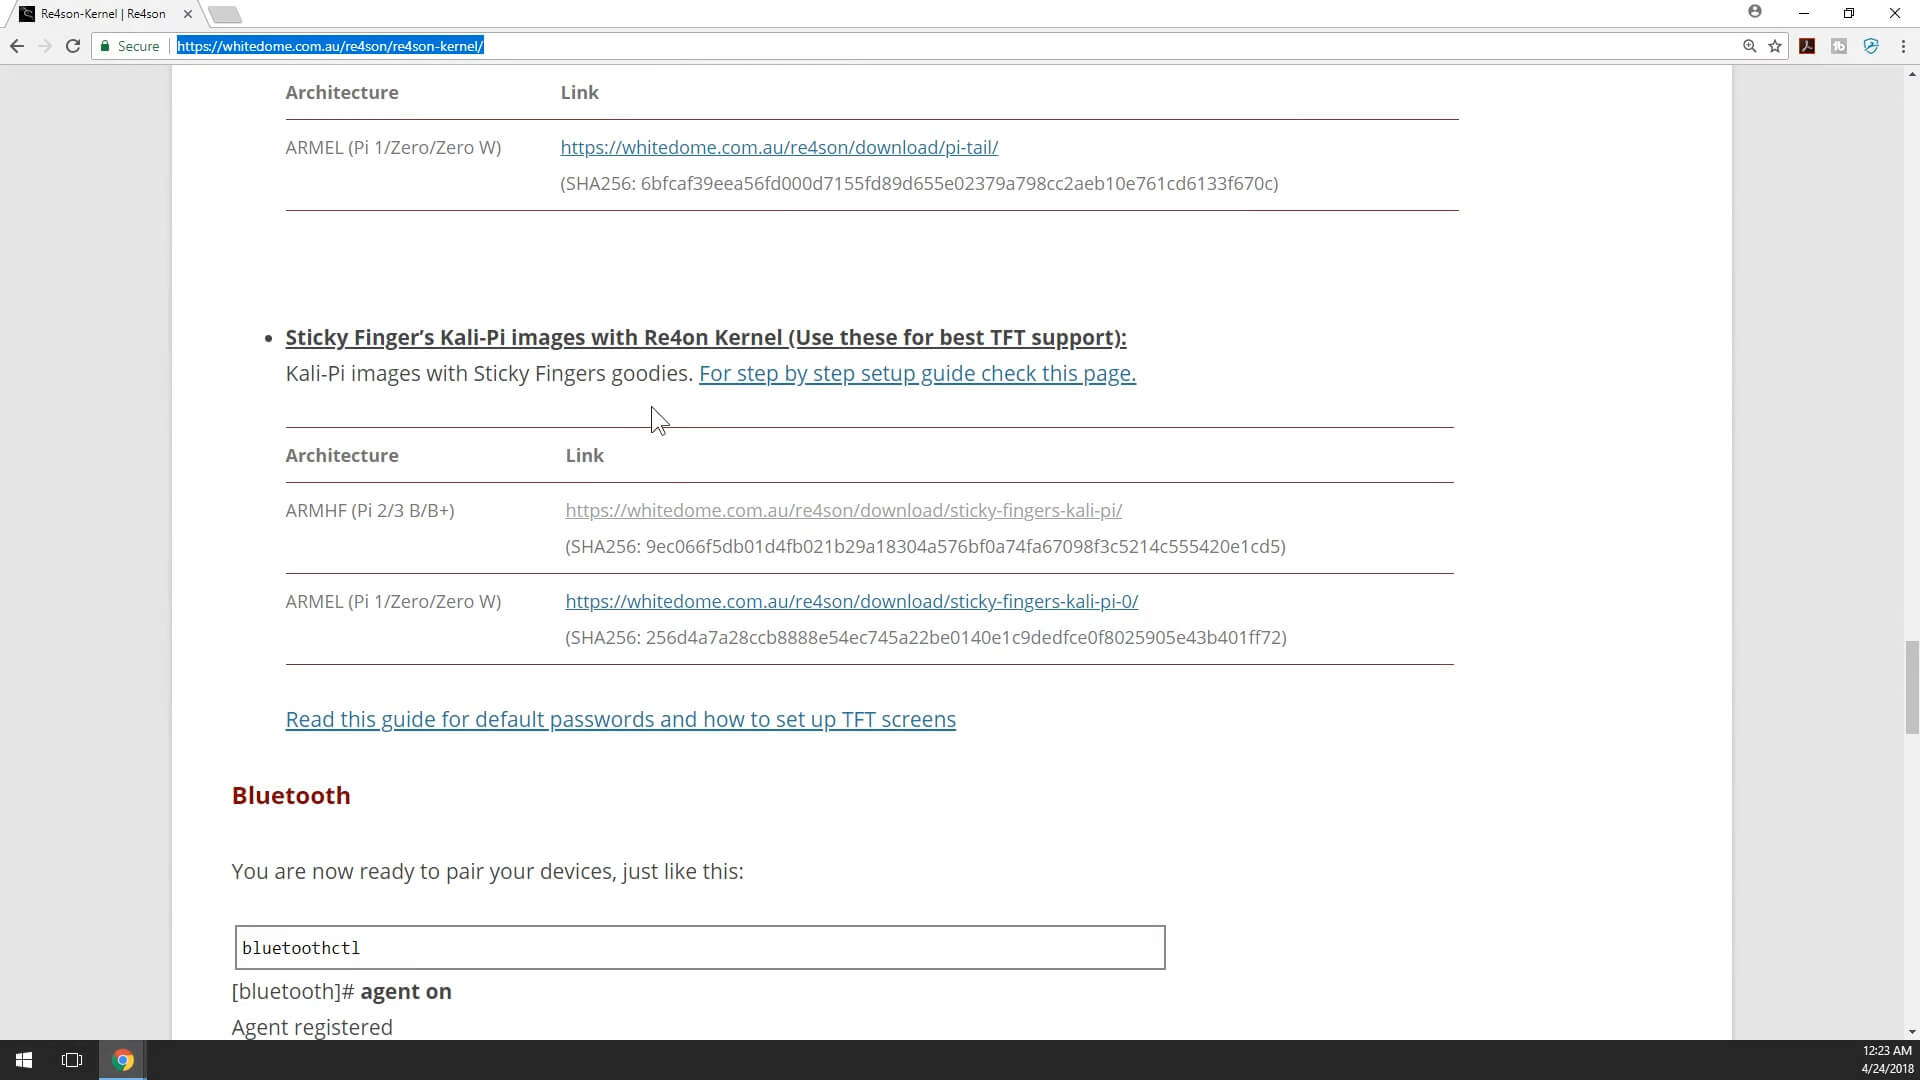
Kali Linux Sticky Fingers ► https://whitedome.com.au/re4son/download/sticky-fingers-kali-pi/
Etcher ► https://etcher.io/
Kali Linux on Raspberry Pi 3B+
Step 1: Install re4son-stickyfinger kali
First you will need to download stickyfinger-tft version.
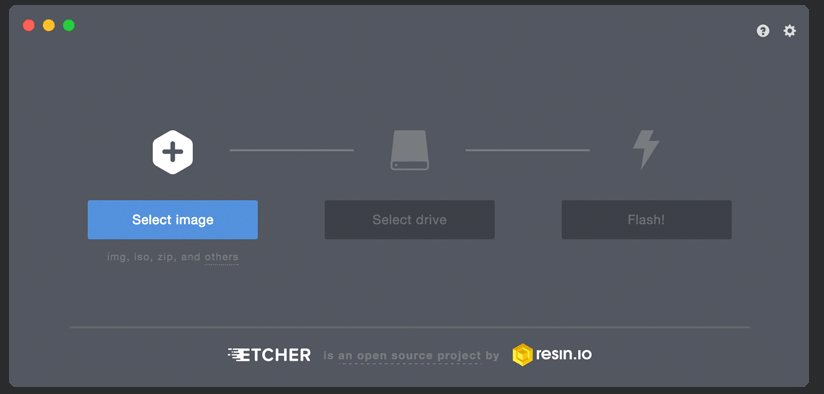
Now we will need a piece of software called etcher to write the image onto our SD card and USB Storage device.
Step 2: Check for updates
It is always a good idea to check for updates even if it is a freshly installed OS.
$ sudo apt-get update
$ sudo apt-get upgrade
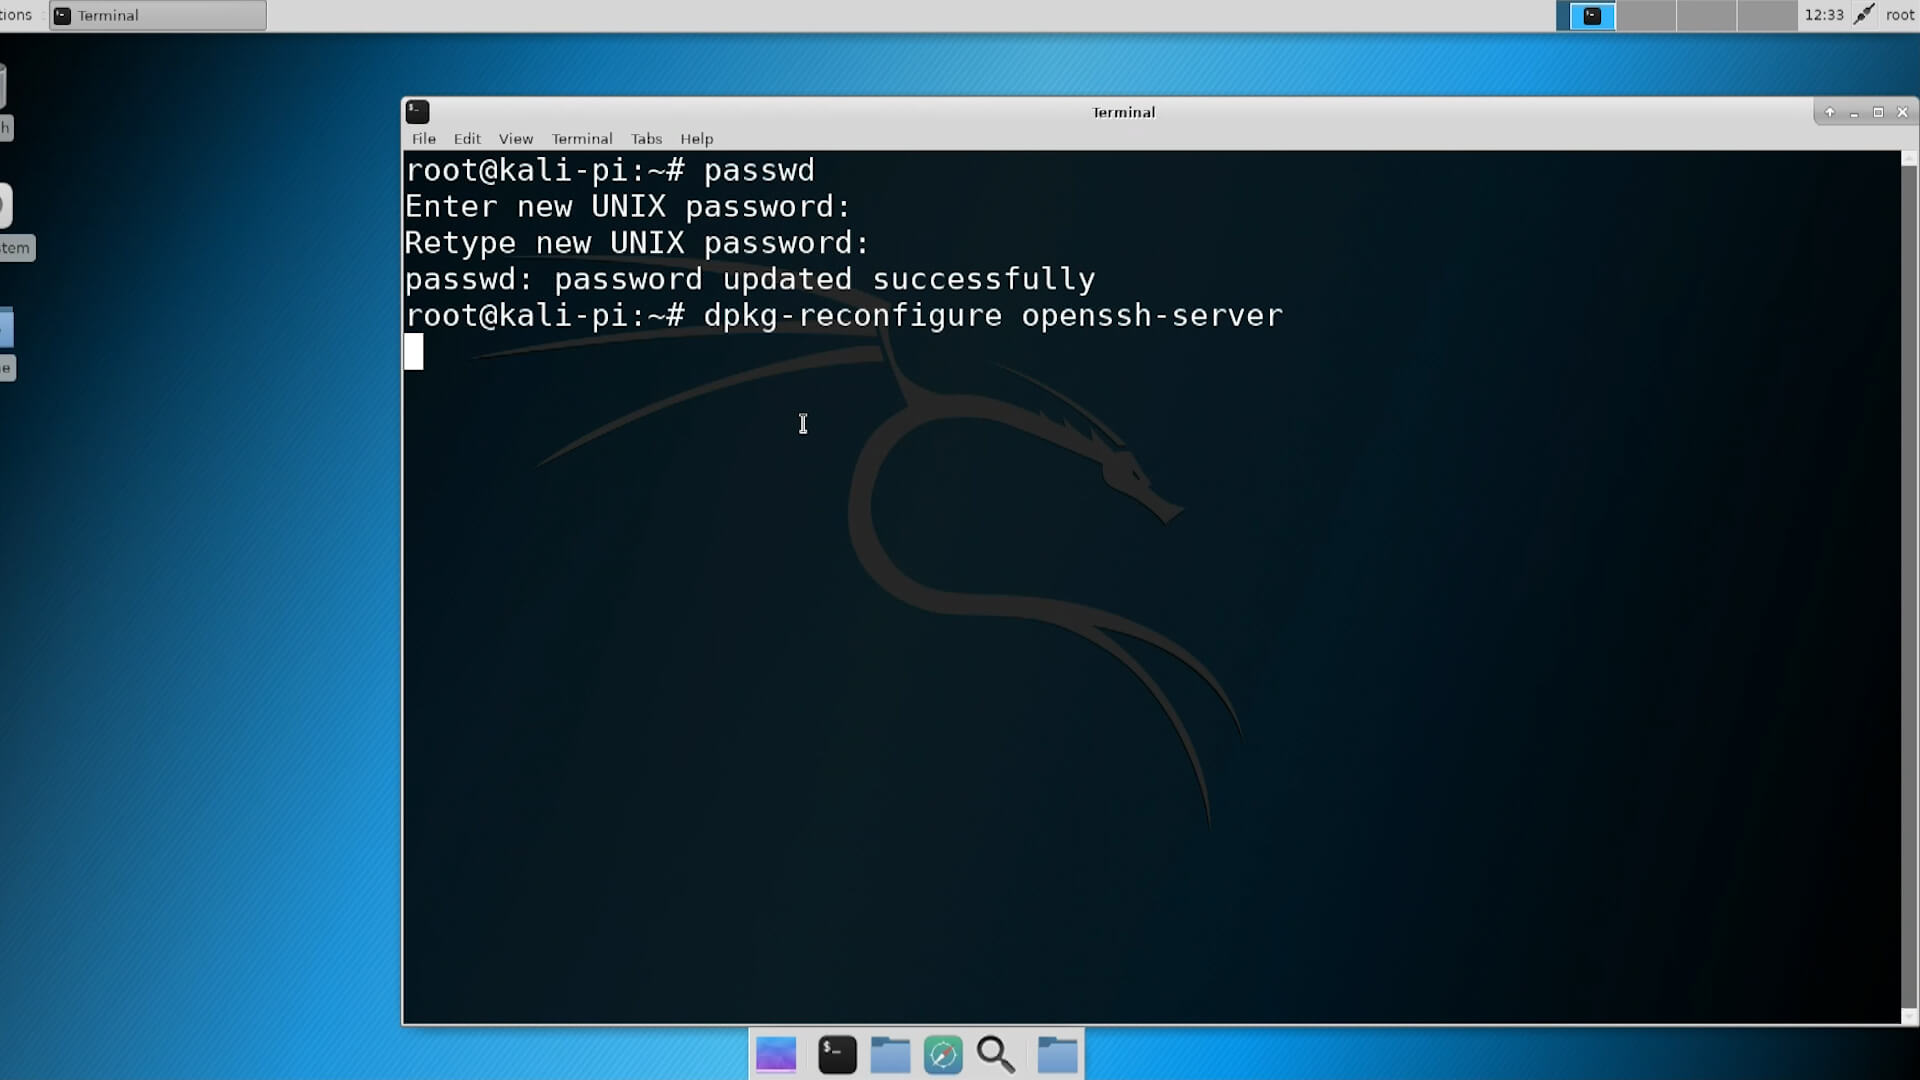
Step 3: CHANGE your password!!
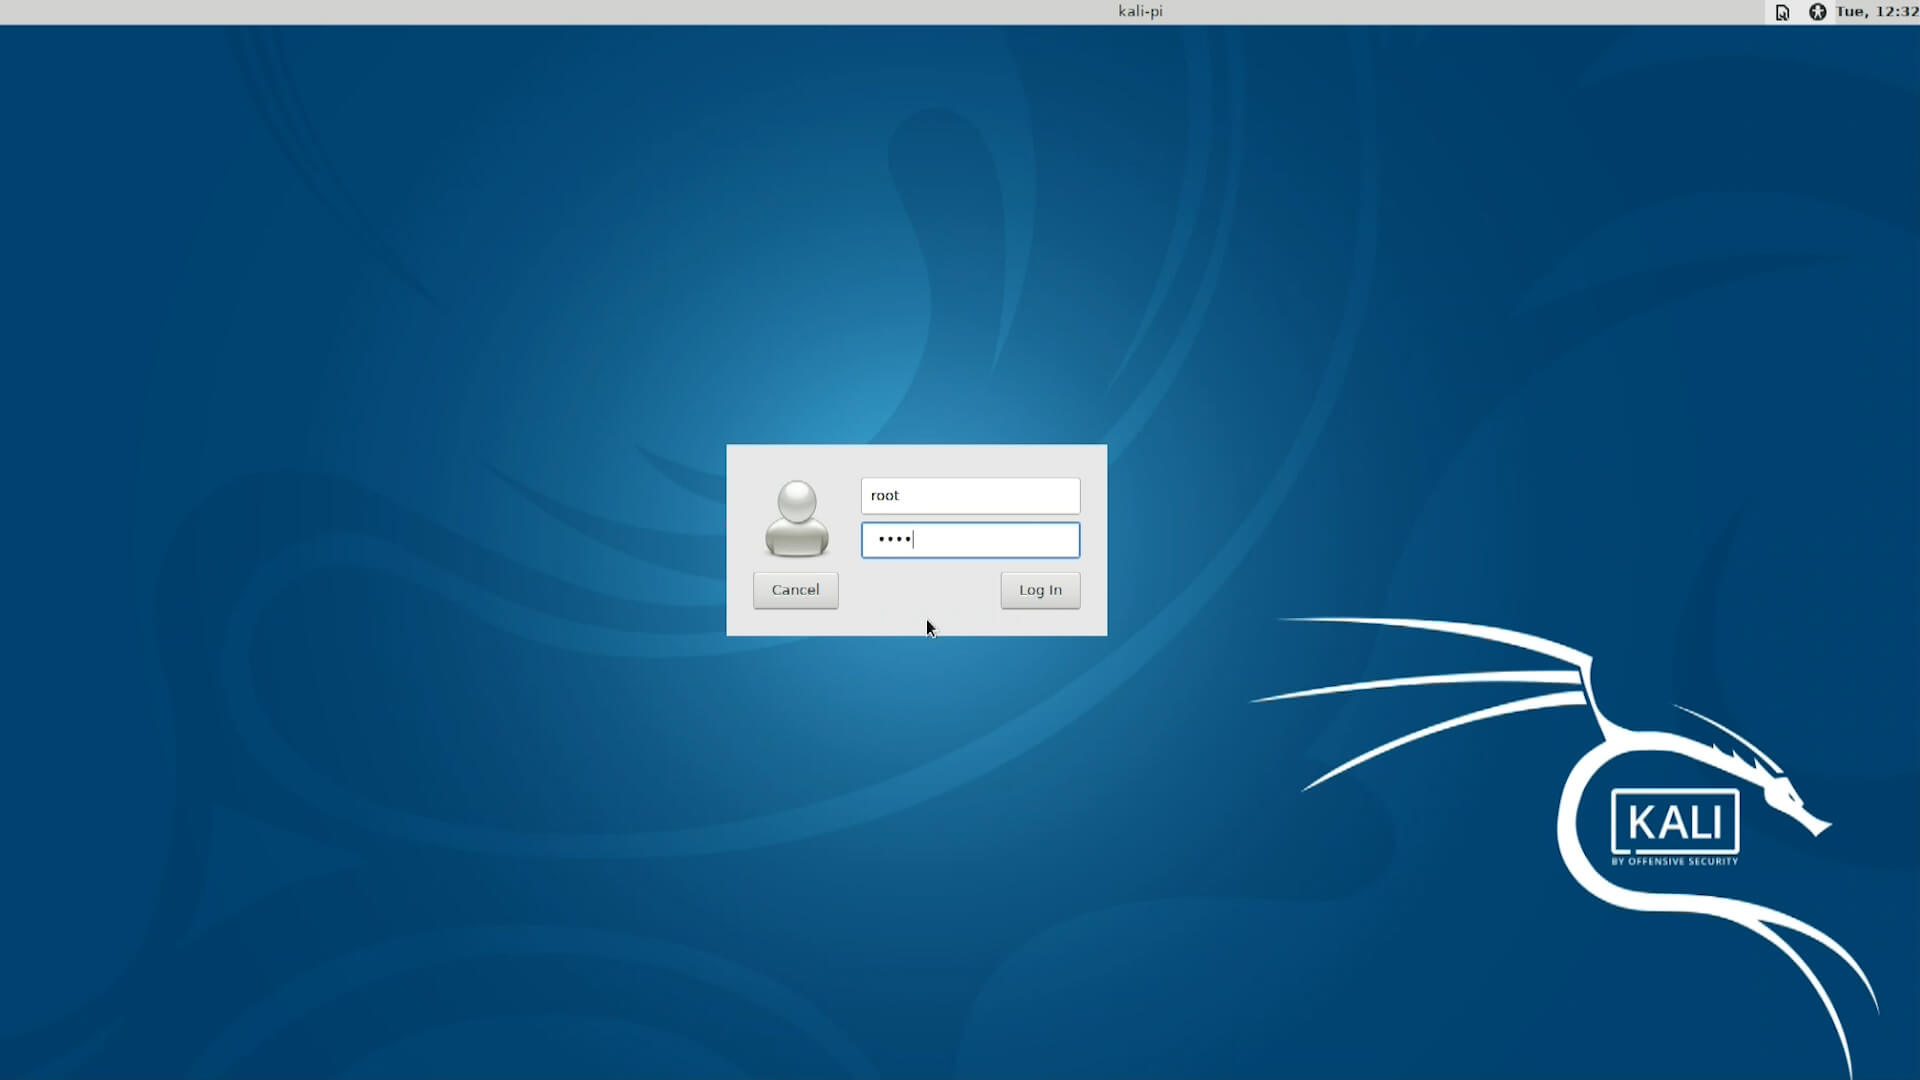
The default username and password for any KALI linux install is “root” password “toor” and this is something you must change
# passwd
we should also change the pregenerated ssh keys as well
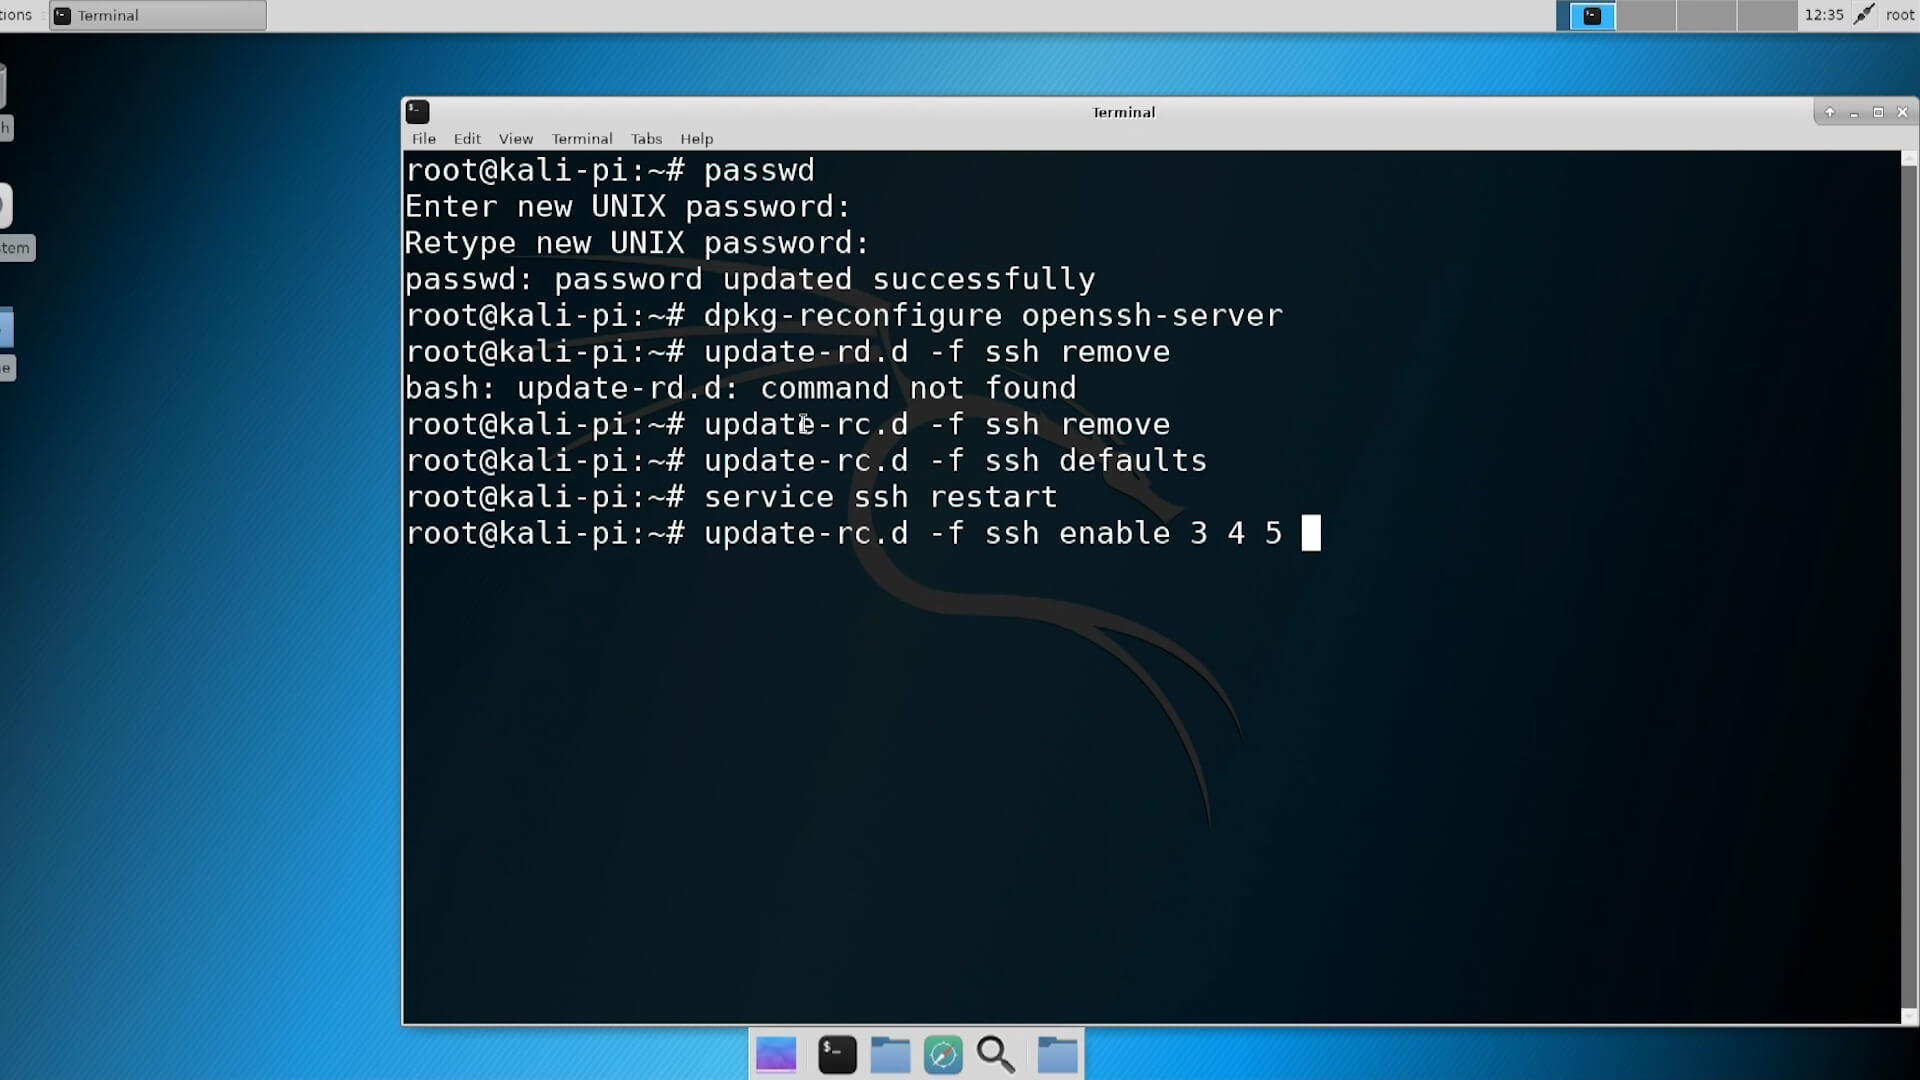
# dpkg-reconfigure openssh-serverStep 4: Auto Login with SSH enabled
This is no required but if you want to be able to remote access your Raspberry Pi via ssh you can perform these steps below.
these following command well removed the old settings for ssh in the boot up process and setup ssh to boot on runtime level 3, 4, and 5.
# update-rc.d -f ssh remove 5
# update-rc.d -f ssh defaults
# service ssh restart
# update-rc.d -f ssh enable 3 4
and now we need to enable auto login to kali which is required for ssh to start. This step will require your Rpi to reboot.
# /usr/local/src/re4son-kernel_4.9.60-20180404/re4son-pi-tft-setup -a rootStep 5: Enabling Monitoring mode
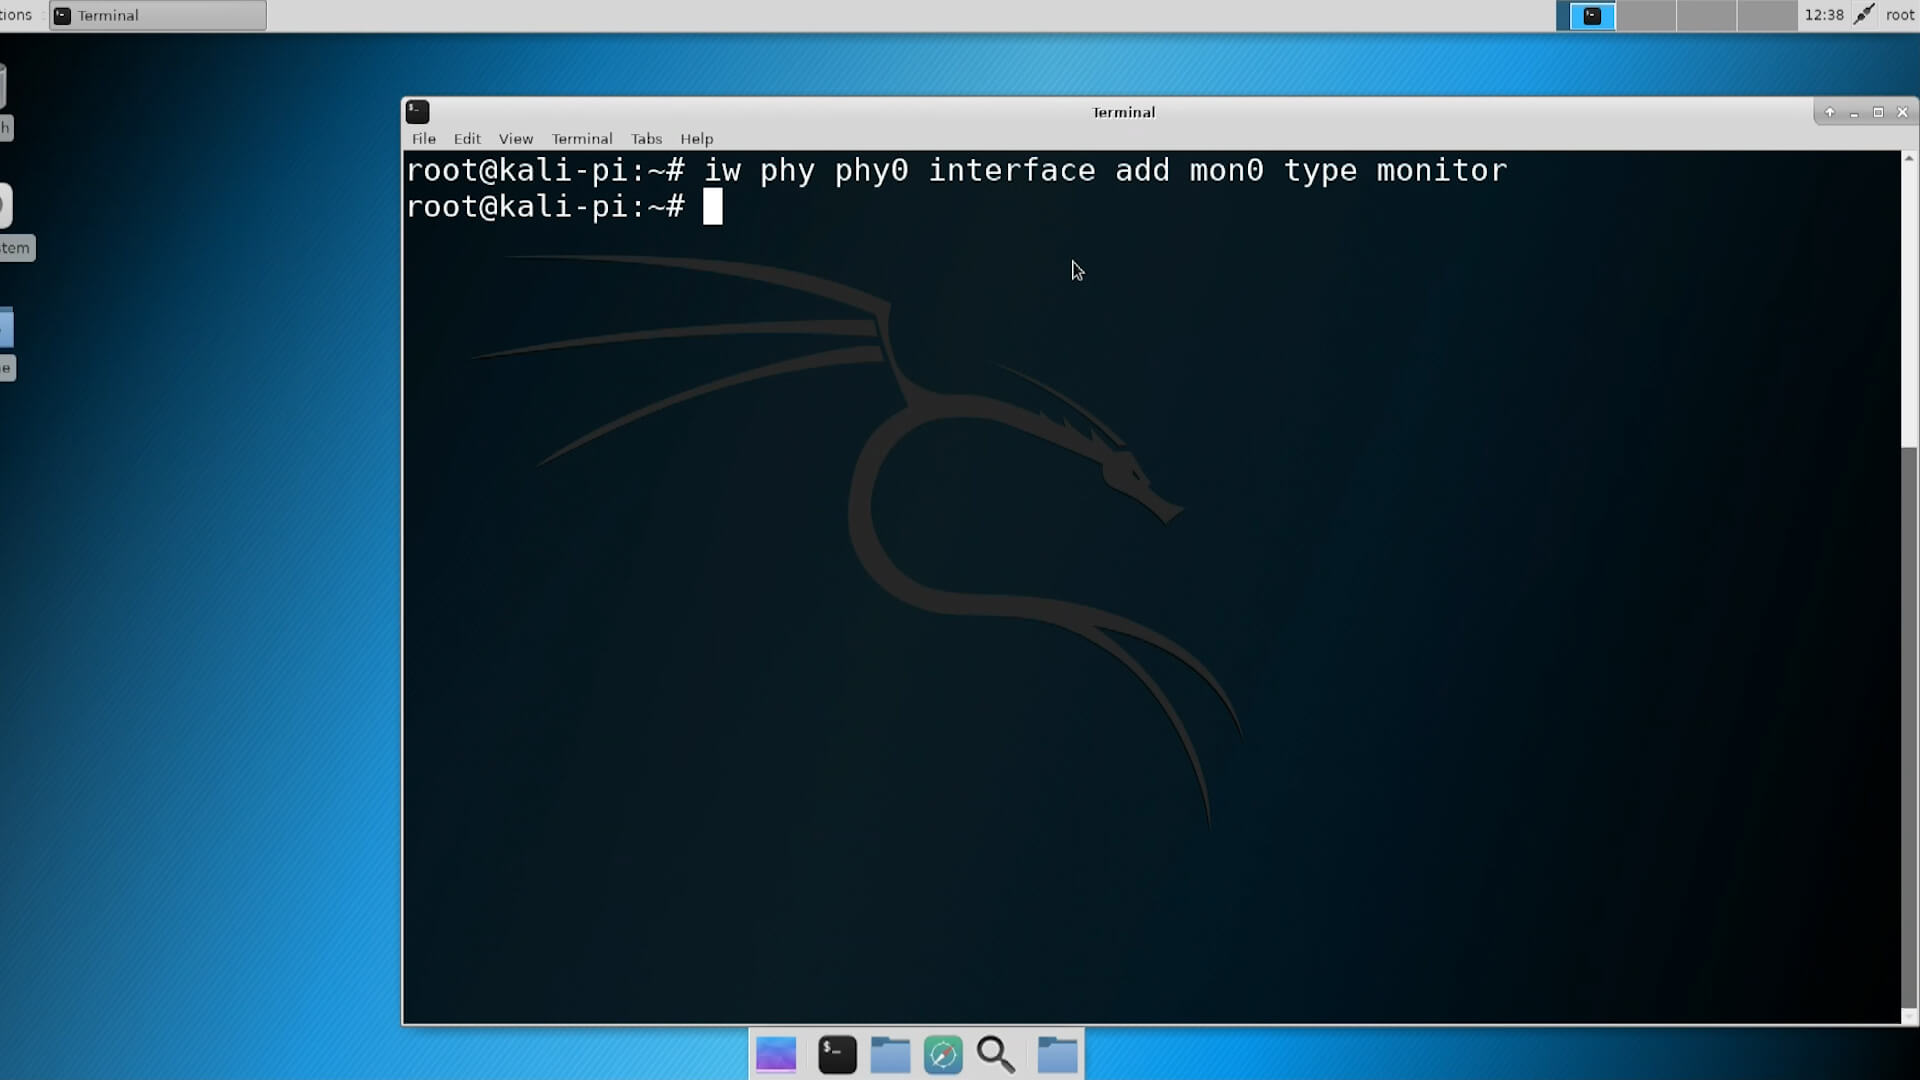
Now for the fun!! this image has nexmon patch enabled which allows for the onboard wifi controller to use monitor mode, a mode usually required if you want to use airmon-ng tools
This command below will add a monitor mode interface
# iw phy phy0 interface add mon0 type monitorand to enable the monitor mode type
# ifconfig mon0 upnow your can use your monitor mode!! give it a try with
#airodump-ng mon0
thanks!!!
View Comments (54)
Hello,
When I attempted to change the SSH keys using
# dpkg-reconfigure openssh-server
I received the following after pressing enter
"rescue-ssh.target is disabled or a static unit, not starting it"
All other steps in this tutorial work, but have not seen anyone run into this issue.
I am using a raspberry pi3
--------
# uname -a
Linux kali-pi 4.14.62-Re4son-v7+ #2 SMP Sat Sep 22 22:53:40 AEST 2018 armv7l GNU/Linux
i also get this after pressing enter on cmd # dpkg-reconfigure openssh-server
“rescue-ssh.target is disabled or a static unit, not starting it”
im using a PI 3 too.
Any idea cheers
To Garet and trotter I completely understand!! It is is very annoying but here is the quick and dirty fix for that one just get into the directory > cd /etc/ssh once there enter> rm -r ssh_host_rsa keys and the .pub one then you can run dpkg-reconfigure openssh-server and a new rsa key will be generated. You can confirm this by doing it twice and comparing for sanity sake. Again this is the low and dirty I didn't take more time to find out the cause and fix it another way but believe me it works as you will see by doing the sanity check. Also you could optionally delete all keys starting with ssh_host but if I am not mistaken by default openssh uses only the RSA key.
Hi there , if you do the apt update, will it break the exclusive parts of the distro from reason as it will be updating from the original repository’s ?? Thanks for your help
apt update will get nothing for this old outdated re4son image :-)