The unofficial raspberry pi kali linux install. We are going to be using a unoffical image from re4son which was created specifically for the raspberry pi! This version also includes the nexmon patch for wifi monitoring mode!!
Equipment List
Raspberry Pi 3B+ ► Amazon | Ebay
7inch touch screen ► https://goo.gl/B1Rc2X
7inch touch ► https://goo.gl/Z54f9t
5inch touch screen ► http://amzn.to/2pafLH4
Software List
Kali Linux Sticky Fingers ► https://whitedome.com.au/re4son/download/sticky-fingers-kali-pi/
Etcher ► https://etcher.io/
Kali Linux on Raspberry Pi 3B+
Step 1: Install re4son-stickyfinger kali
First you will need to download stickyfinger-tft version.
Now we will need a piece of software called etcher to write the image onto our SD card and USB Storage device.
Step 2: Check for updates
It is always a good idea to check for updates even if it is a freshly installed OS.
$ sudo apt-get update
$ sudo apt-get upgrade
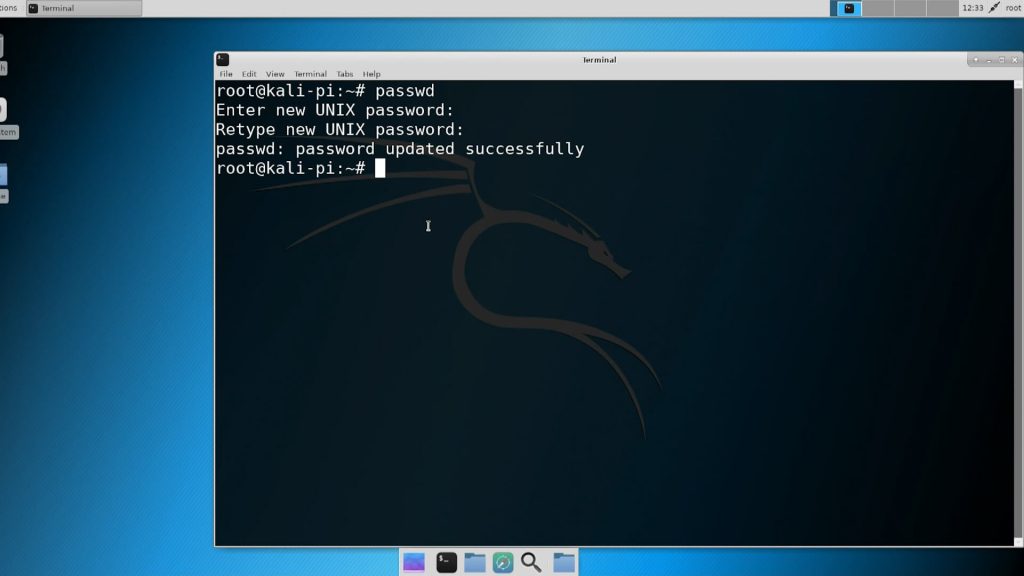
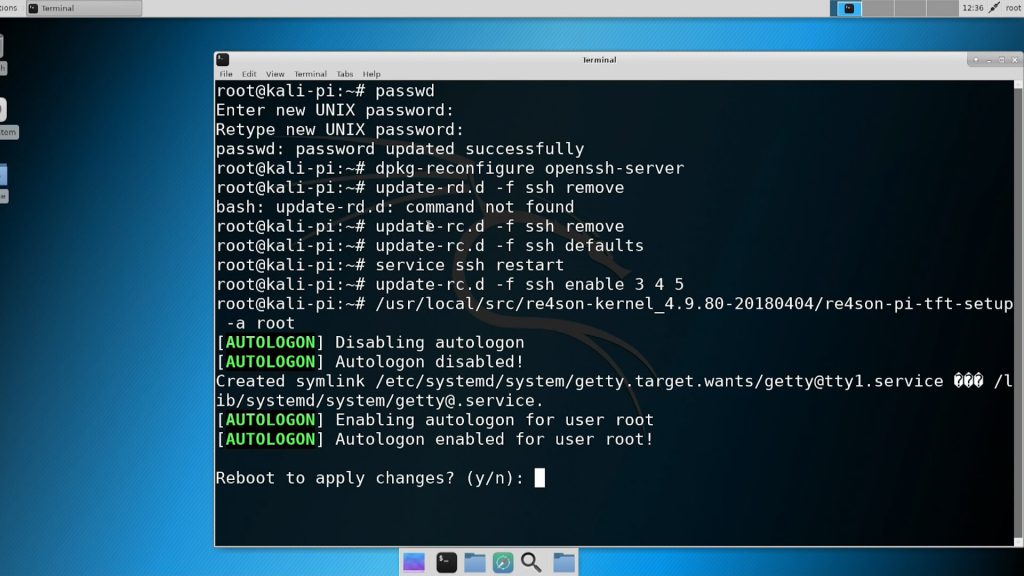
Step 3: CHANGE your password!!
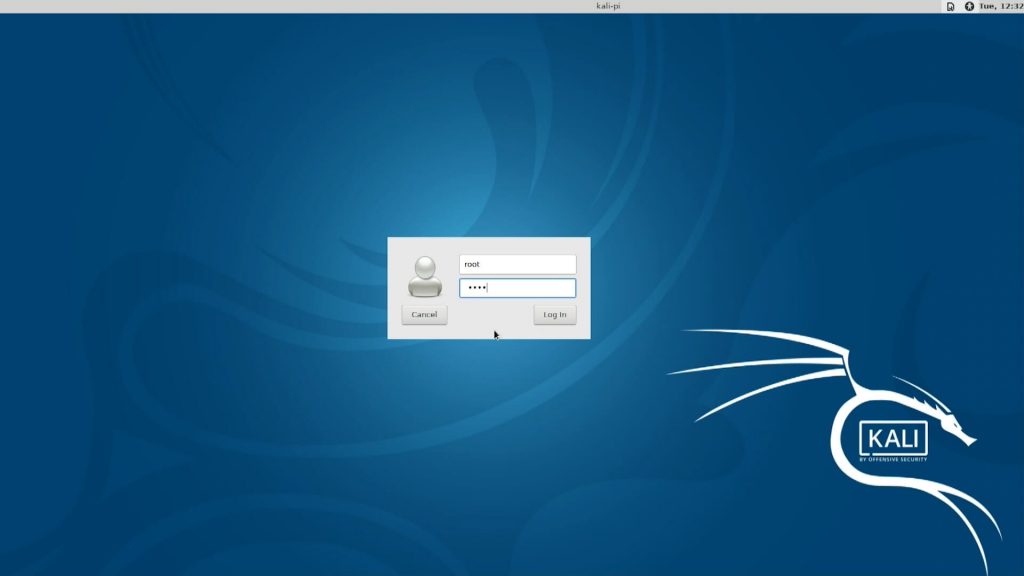
The default username and password for any KALI linux install is “root” password “toor” and this is something you must change
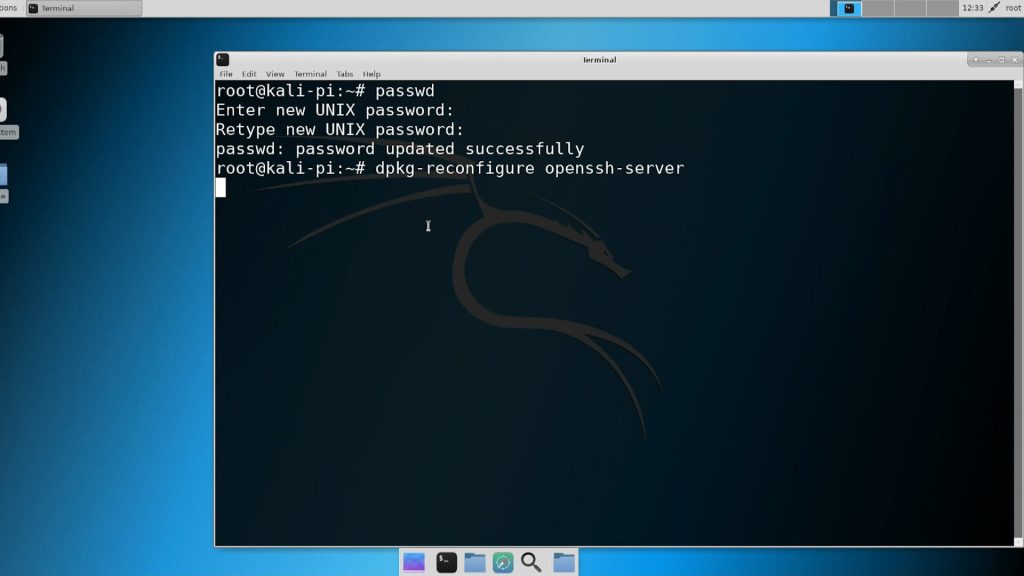
# passwdwe should also change the pregenerated ssh keys as well
# dpkg-reconfigure openssh-serverStep 4: Auto Login with SSH enabled
This is no required but if you want to be able to remote access your Raspberry Pi via ssh you can perform these steps below.
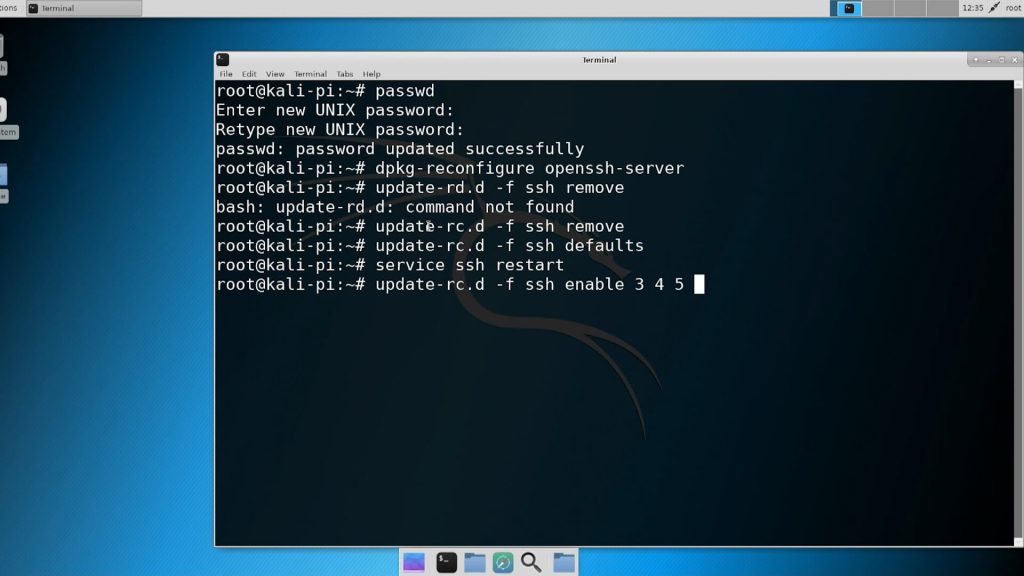
these following command well removed the old settings for ssh in the boot up process and setup ssh to boot on runtime level 3, 4, and 5.
# update-rc.d -f ssh remove 5
# update-rc.d -f ssh defaults
# service ssh restart
# update-rc.d -f ssh enable 3 4
and now we need to enable auto login to kali which is required for ssh to start. This step will require your Rpi to reboot.
# /usr/local/src/re4son-kernel_4.9.60-20180404/re4son-pi-tft-setup -a rootStep 5: Enabling Monitoring mode
Now for the fun!! this image has nexmon patch enabled which allows for the onboard wifi controller to use monitor mode, a mode usually required if you want to use airmon-ng tools
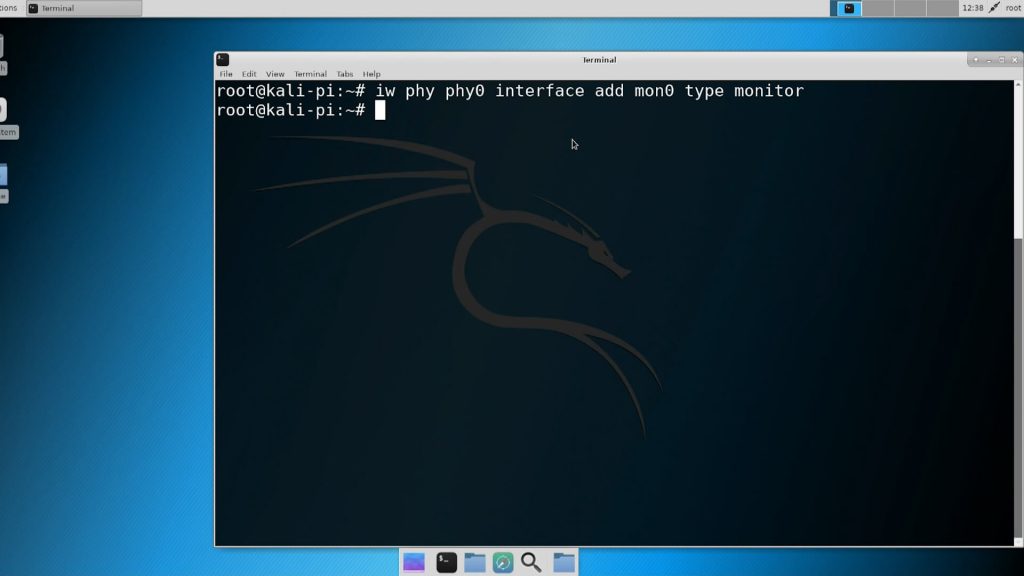
This command below will add a monitor mode interface
# iw phy phy0 interface add mon0 type monitorand to enable the monitor mode type
# ifconfig mon0 upnow your can use your monitor mode!! give it a try with
#airodump-ng mon0
thanks!!!







Would it work on the RPi3B+ without any need to modify the image?
I could not follow exactly on the video. Is there a need to adjust the image for the Plus?
thanks
I will delete my question in the other place. Just now saw this topic. Btw couldn’t fine it via search.
I got a pi 3 b+ and installed kali via instructions on Google. I installed the raspberry arm of kali, the updated, upgraded and then installed kali full.
I went to test out the tool’s and found that it will not go into mon mode. Everthing else is good. I already tweaked it just like i wanted it but now this is wrong. I found your video on the stickyfingers image that helps with mon mode.
My question is, is there a way to switch out the kernel or something with the… Um driver’s/script that enables mon mode or do i need to just reformat sd and start over?
Also i don’t have a touch screen. Im using an old vga t.v. for my display and im not sure if stickyfingers would mess that up.
Edit: just found this.
Would this be where to start to install the software to enable monitor mode?
Im thinking the error is most likely on my end. It’s ok tho because eventually I’ll get it right and learn a little extra along the way.
I have no regrets on getting the Alfa adapter and have the long range antenna coming soon. I’d probably had got that any way because like you said in your video, the pi’s range isn’t that good.
So i don’t really know what im looking at. Monitor mode is definitely working but im not getting what i expect when typing in airodump-ng. I get a few lines and it stays this way.
Is it possible to build a kali cluster with 4 raspberry pi’s? I’ve looked everywhere and can’t find if it’s possible.